
How to distribute content on Meta Quest headsets using the Meta Quest Developer Hub App and Meta Horizon Dashboard.
Before doing anything, make sure to download and install the Meta Quest Developer Hub (MQDH). The Developer Hub is is an application for Windows and MacOS that allows developers to manage their devices:
How to Create or Join an Organization
Before you can distribute an app on the platform, you need to create a new organization or join an existing organization on the Developer Dashboard.
Join an Organization
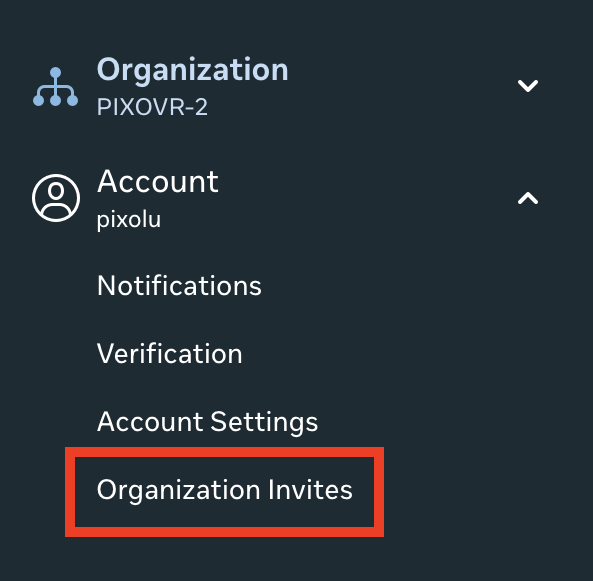
Once you have been added to an Organization, you'll see an invite appear at the top of your screen stating "View Invitation" when you log in next. You will need to accept the invitation before you can begin deploying apps.
Alternatively, you can accept the invite by selecting Account > Organization Invites in the bottom left corner:
Create an Organization
-
Open the Meta Horizon Developer Dashboard.
-
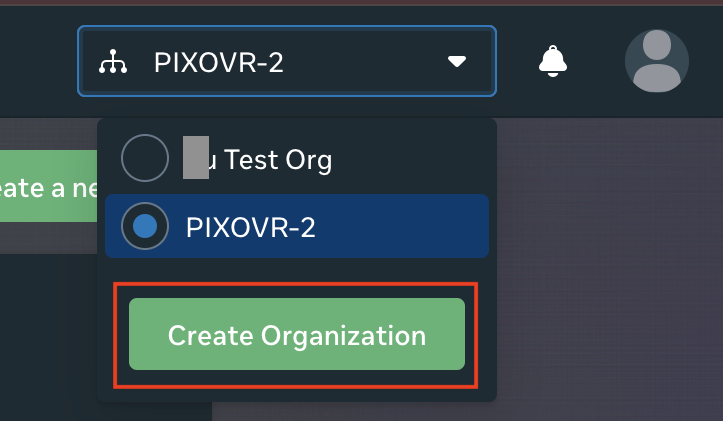
In the upper-right corner, click the drop-down next to the bell, and then click Create Organization:
-
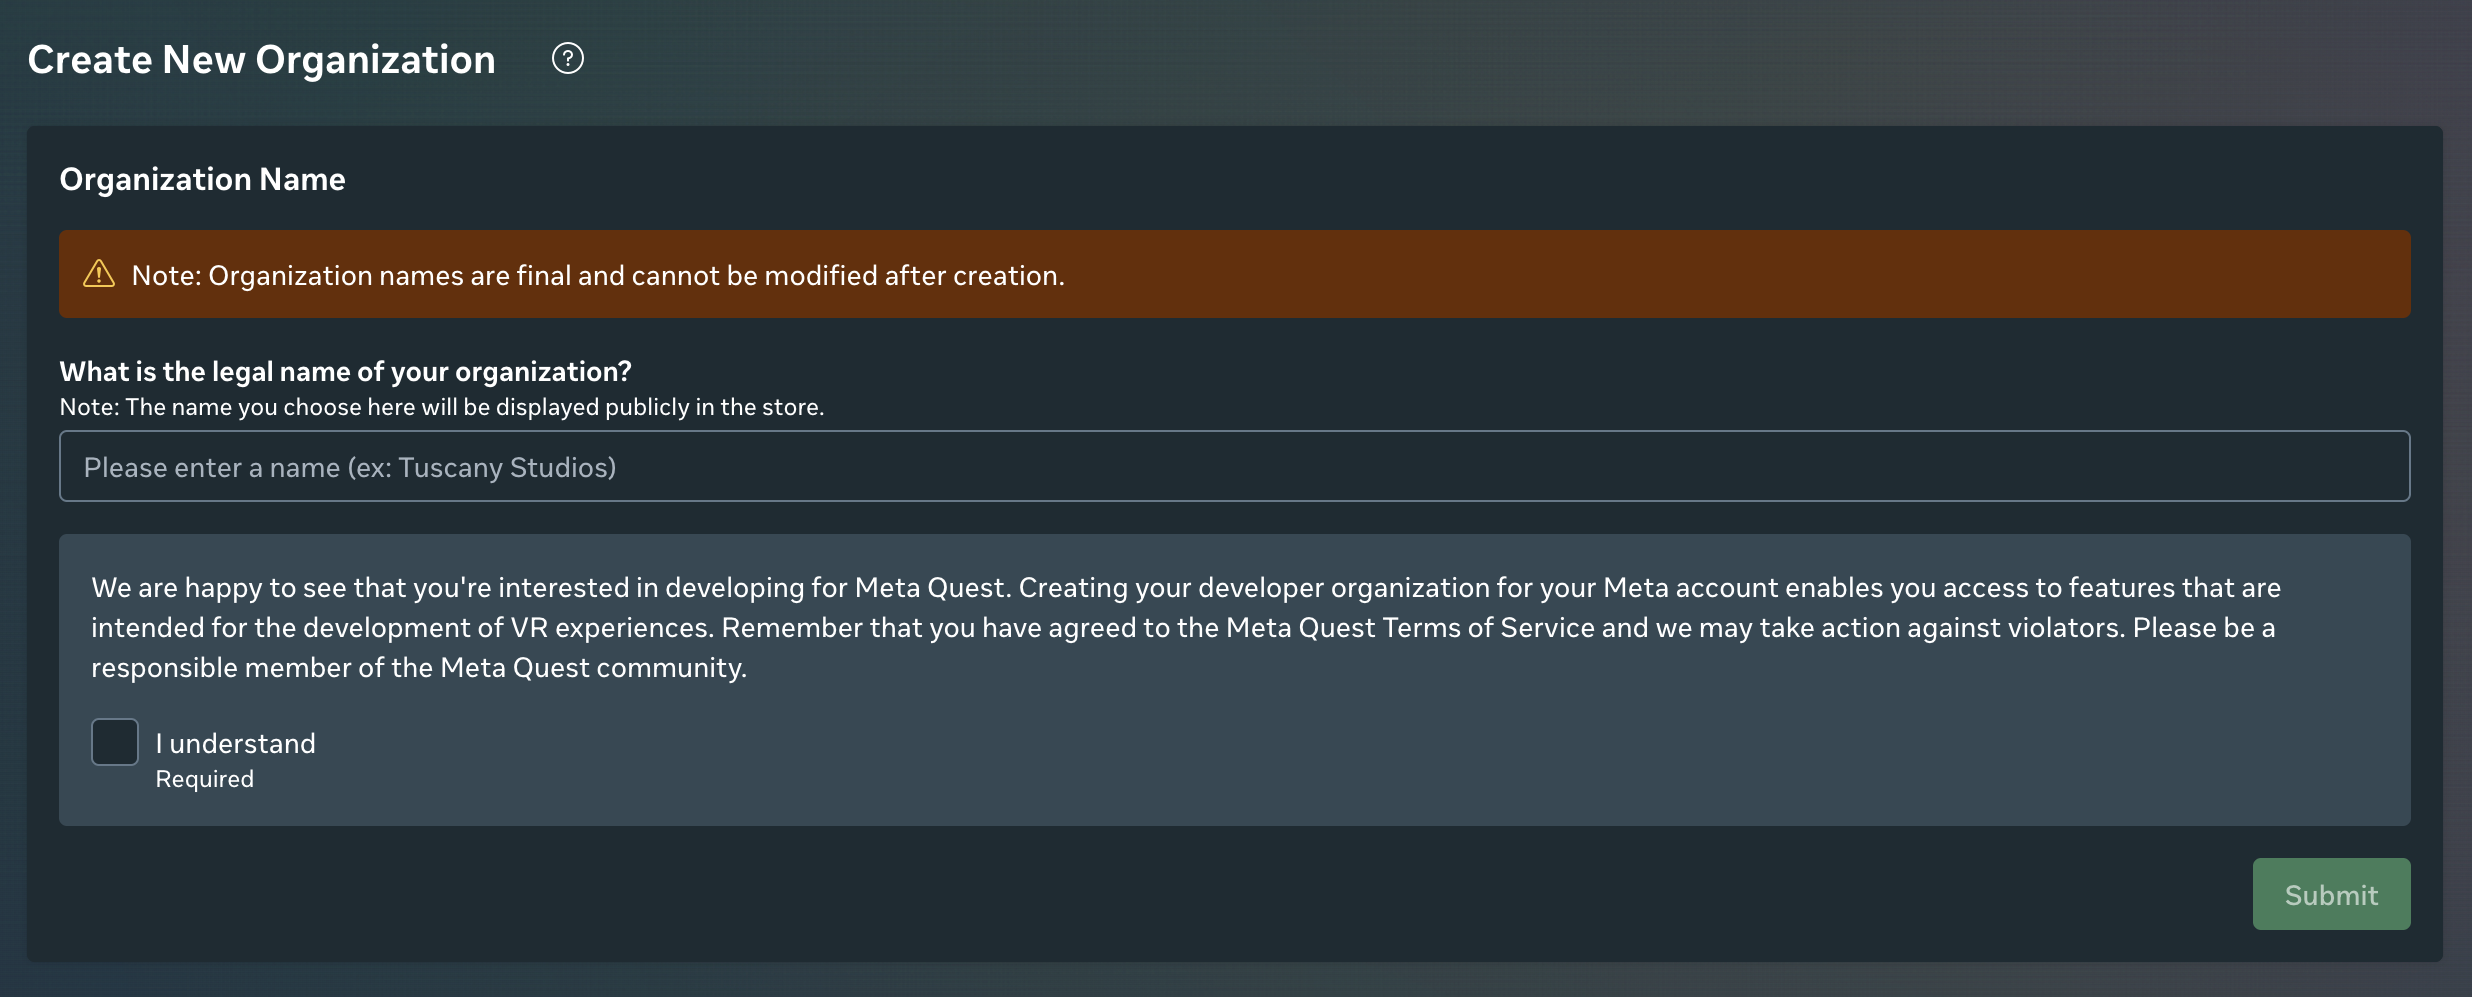
Type in the organization name. Choose the name of the organization with care, as this name is associated with any app you distribute in the Meta Horizon Store.
-
Review the Non-Disclosure Agreement, select I Agree, and then select Submit. The My Apps page will then load.
-
On the My Apps page, create your organization’s first app.
How to Create a New App
-
Download Module from the PIXO Platform Module Tab.
-
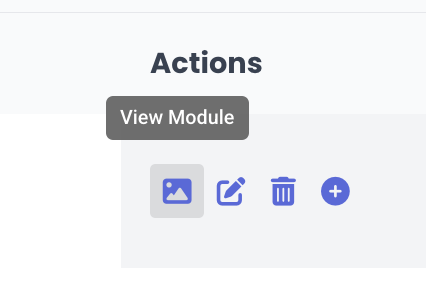
Select the View Module icon under the Actions panel, then scroll down and download the listed Quest build.
-
Tip: Don't forget to extract the Zip file before uploading the app APK.
-
-
Open the Meta Quest Developer Hub App (MQDH) and Developer Dashboard.
- Log in using your Meta Developer credentials (use the same Meta developer credentials you use to log in on a headset)
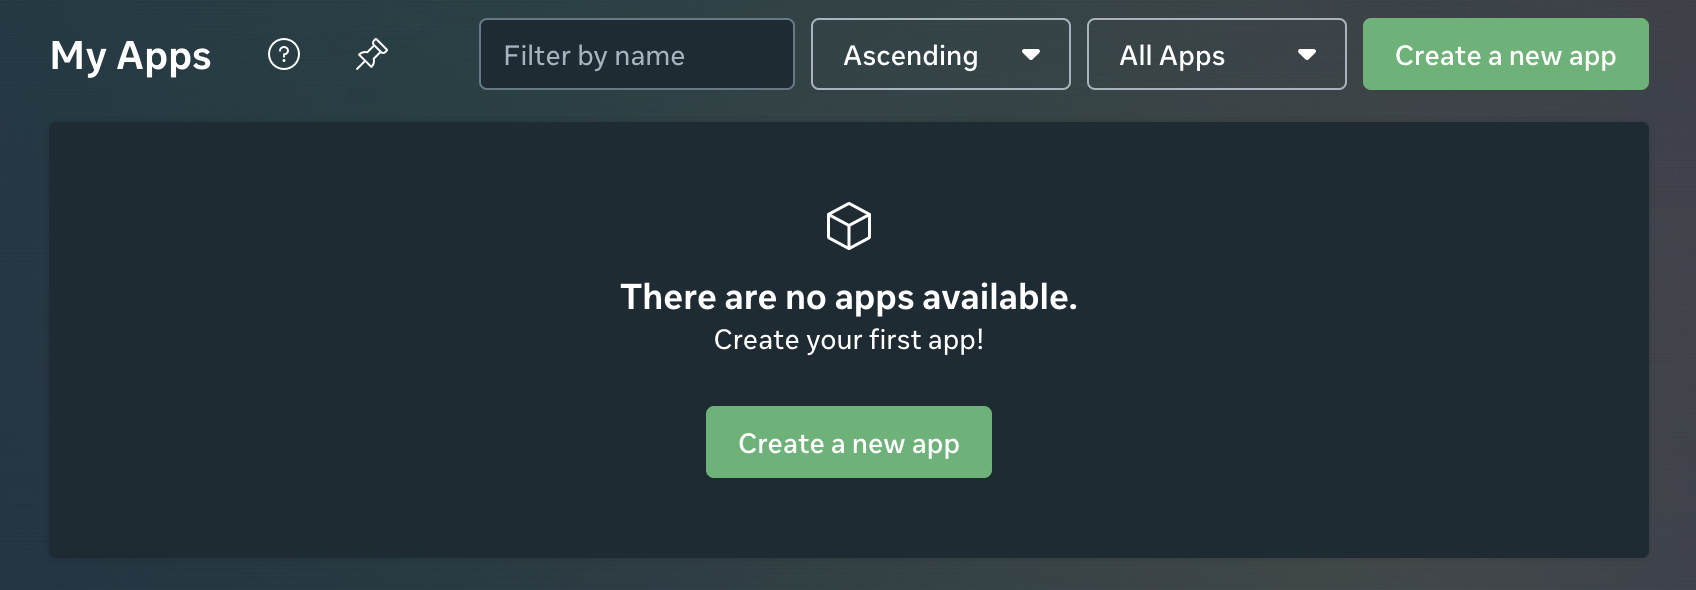
- In the Developer Dashboard, click Create a new app:
-
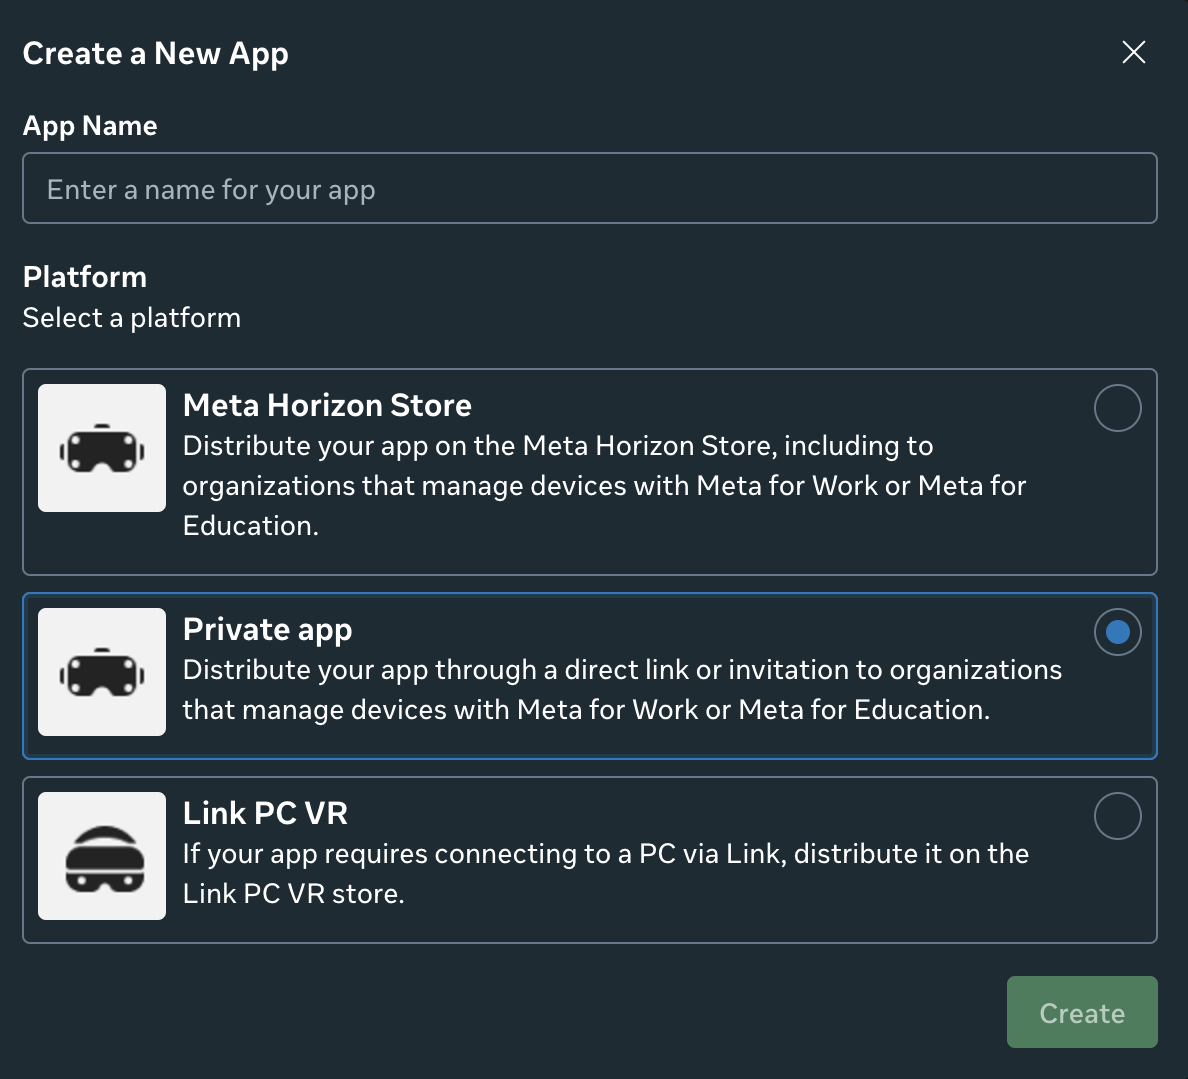
Name the app, select a Platform (Private app), then click Create:
-
Open the MQDH app again, then wait for the new app to appear in MQDH under the App Distribution tab. If the app doesn't appear, try refreshing the page.
-
Once the app appears, select it from the list and modify the app or upload a build.
Modifying Apps
After creating an app, you can modify the app's details on the App Submission page of the Developer Dashboard. However, you must wait until the app submission review is complete before making any changes. The metadata of your app includes its name, descriptions, keywords, category, genre, and more.
For steps on modifying your app’s metadata, see Meta's Providing App Metadata page.
How to Upload Builds
When you’re ready to publish your application, you can use Release Channels such as Alpha and Beta to distribute the early version of the app for testing to closed audience, or publish it to Production (the Business Channel).
-
Open the MQDH app.
- Under the App Distribution section of your Organization in MQDH, click the desired app to open its Release Channels list.
-
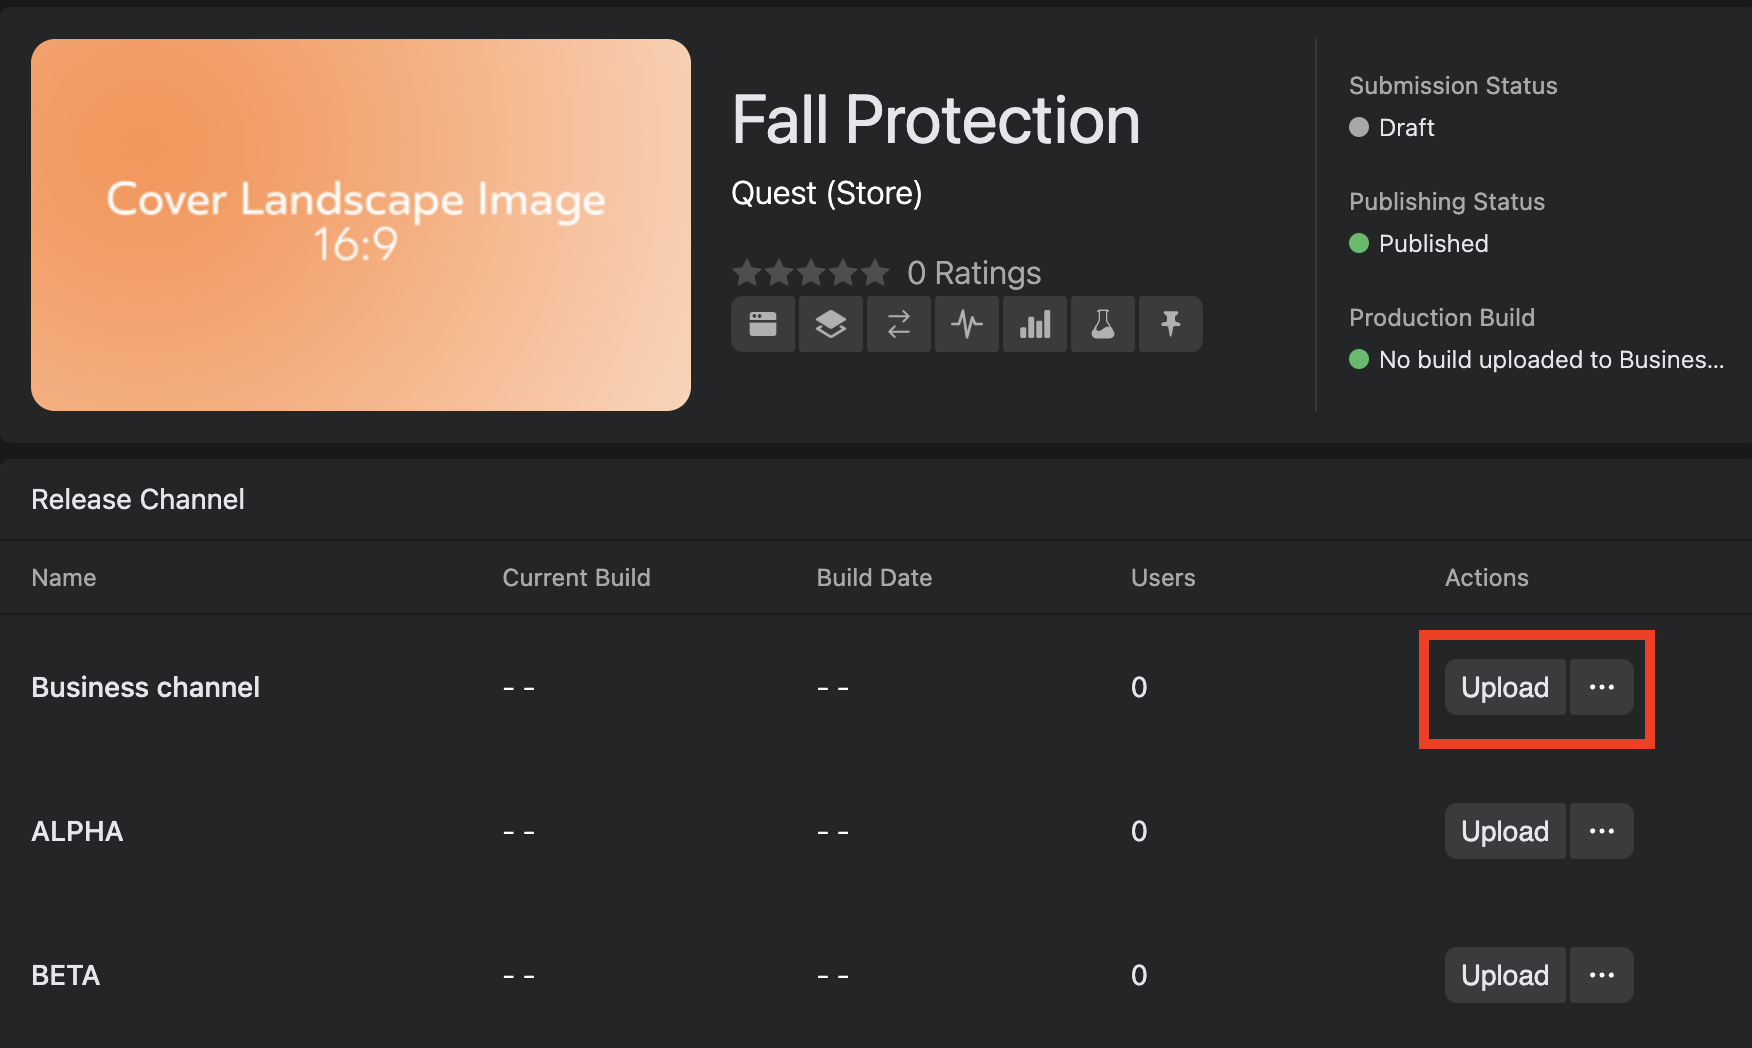
Select Upload next to the Business Release Channel:
-
Upload the Module's APK file from your computer and specify supported devices.
-
Wait for the download to complete. Once a build is uploaded successfully with its specified devices, it can be seen on the release channels table on MQDH.
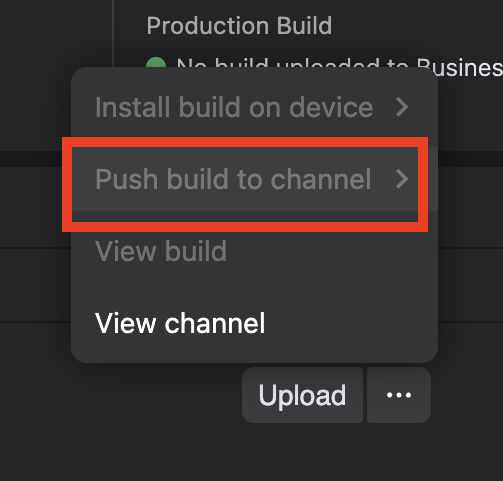
- Click the Three Dots icon, then select Push build to channel from the submenu:
-
After pushing a build to a Release channel, you can head to the Admin Center to assign apps to devices using Device Presets.
Device Presets
If you are an Admin, use the Admin Center to edit Device Presets. Presets can be used to select which devices and device groups are assigned to the preset, as well as which apps are assigned.
-
Click the Devices tab in the left menu of the Admin Center.
- Click Device Presets.
- Click the name of the desired preset.
- In the Details tab, you can change the name and description of the preset, device permissions and time zone.
- In the Apps tab, you can assign or remove apps for devices within this preset.
- Once saved, MQDH will automatically deploy the app to any headsets within the preset.
How to Plug in a Customer ID to a Release Channel
To distribute release channel builds to a select group of users, you must first invite the users to a private release channel by email or URL invite.
Tip: Users receive updated builds as long as they remain a member of that channel. Users will no longer receive app updates to the channel when they are removed from the channel or when the channel is deleted.
-
Go to the Developer Dashboard and select your desired app.
-
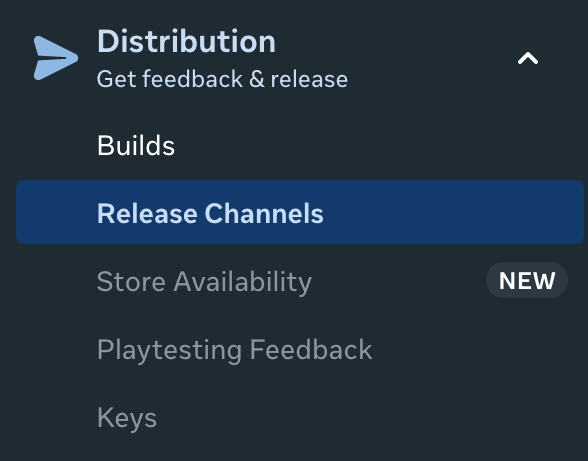
In the left navigation bar, select Distribution > Release Channels:
-
In the Name column, click the Business channel.
-
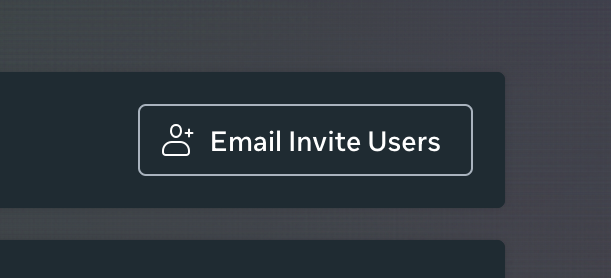
Select the Users tab > Email Invite Users:
-
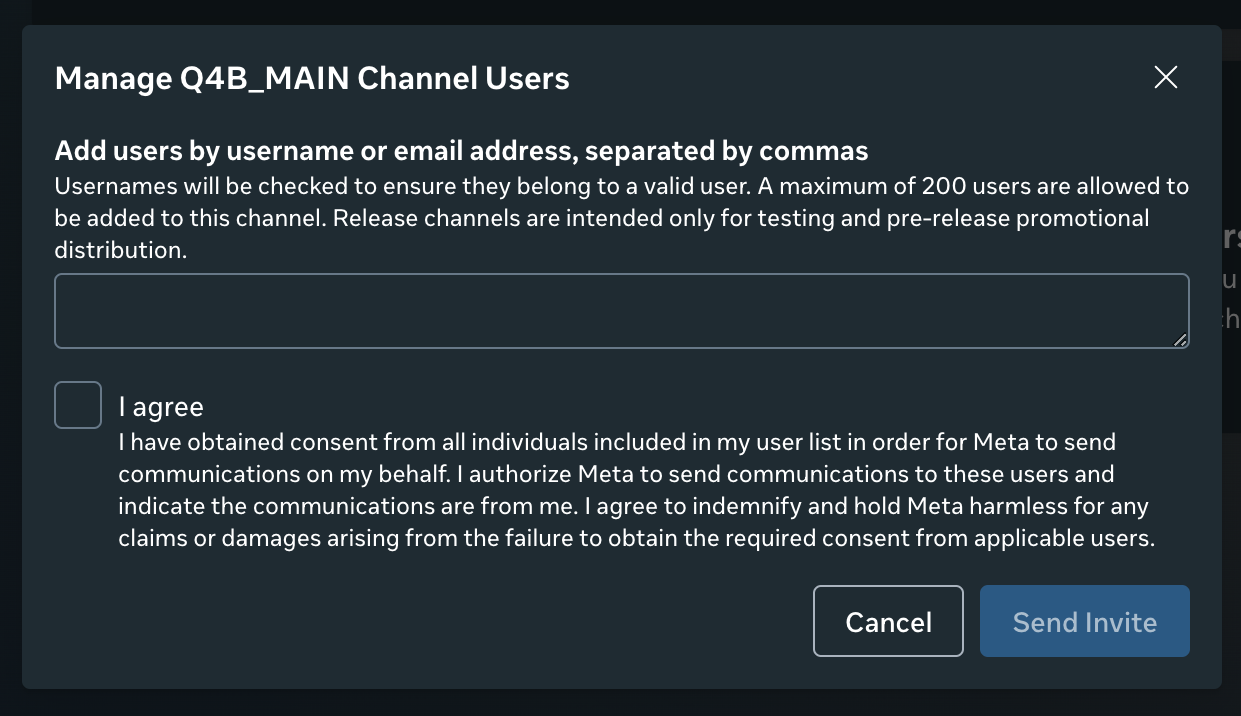
You can then invite users by username or email address. Enter up to 200 email addresses separated by commas.
-
Read the consent and select the I agree checkbox.
-
Click Send Invite.
-
-
Users who have been invited will receive their email invitation shortly after the invite is sent.
Troubleshooting
Prerequisites
Before you can distribute an app, you need to create or join an organization on the Developer Dashboard. An organization represents the company or individual associated with your app. MQDH lists all the organizations you’ve created or joined, and the app details such as release notes, rating, and channel information on the home page.
Questions and Support
If you have any issues, please contact our tech support team at [email protected]


