

Program Overview
Users will use a hands-on approach to reviewing and demonstrating their knowledge. They will have to prepare the worksite, perform a Low Voltage Rescue, contact emergency services, and properly follow up after the rescue is complete.
This will be a pass-fail course; if users make mistakes during the evaluation they will be provided the opportunity to correct their errors and continue with the evaluation, however mistakes will be tracked and making enough errors along the way will cause the user to fail.
For a video walkthrough of the module, click this link: Low Voltage Rescue Walkthrough
Core Learning Objective
To assess the participants ability to perform a rescue from a low voltage panel.
Functionality
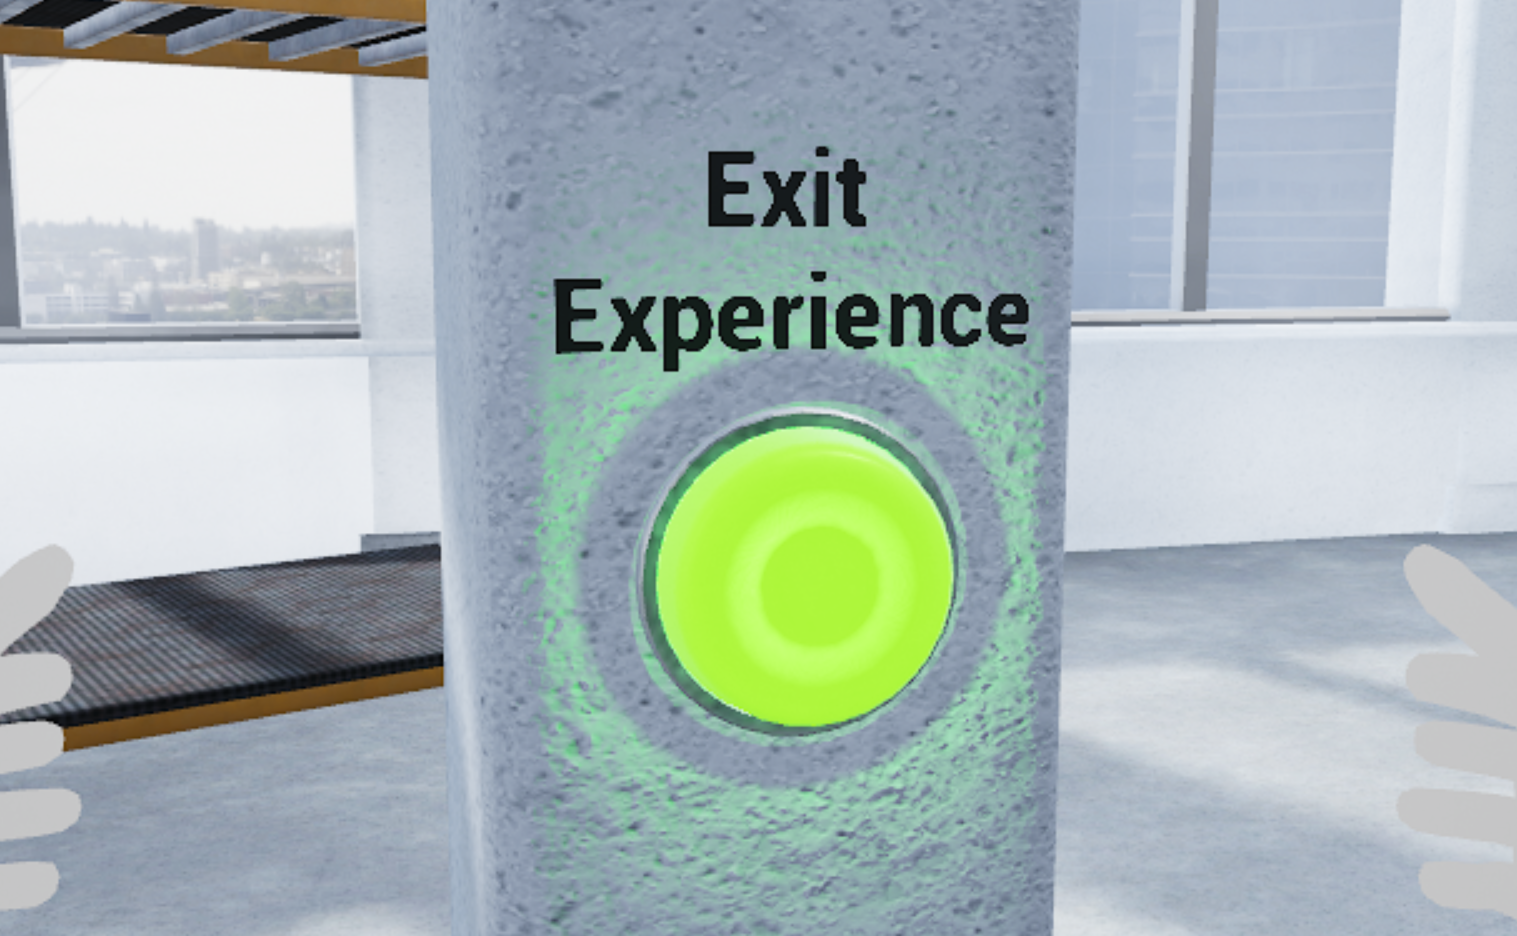
Exit Scenario
To exit a scenario, press the Exit Experience button with your virtual hands:
Tools
- Laser Pointer — To interact with menus and objects in this experience, aim your laser pointer at the item you wish to interact with and pull the trigger on your controller to select it.
- Rescue Crook —To drag your colleague back and away from the electrical panel, press the controller trigger.
How to Get 100%
In this scenario, the user is a safety observer while their colleague does an equipment swap out on an energized cabinet in a warehouse. Throughout the scenario, they should follow the “Safety Checklist” located on the whiteboard to their left:
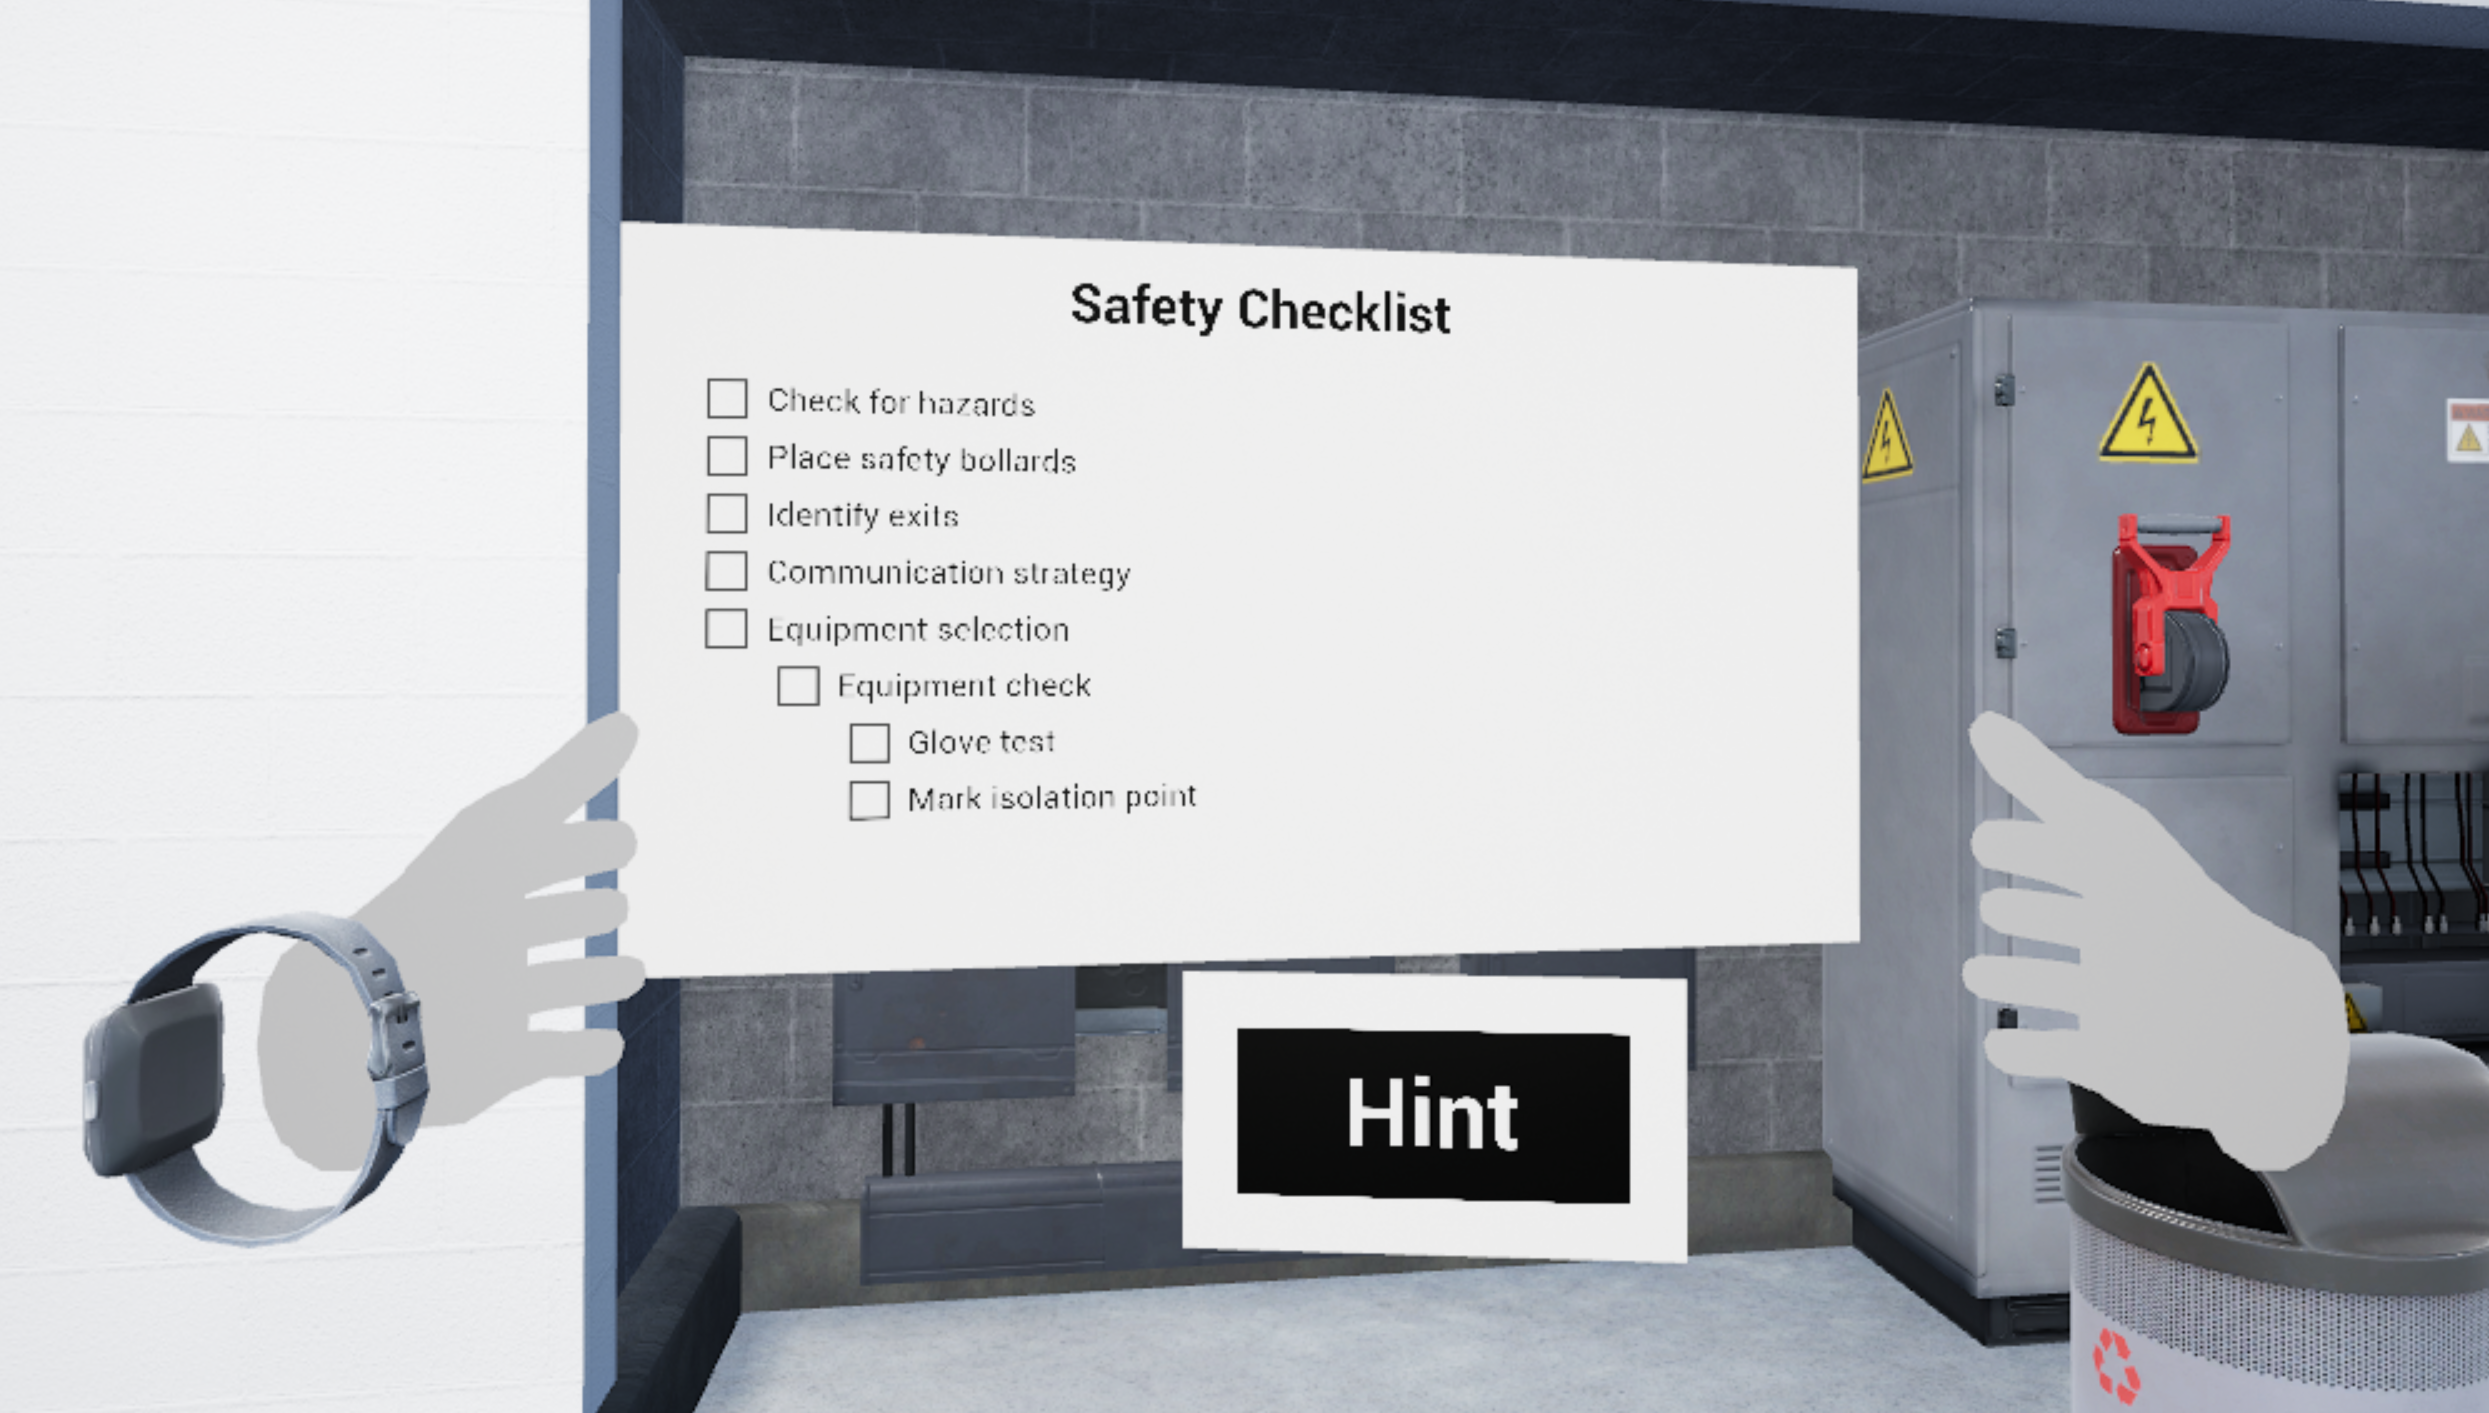
Note: In this experience, the user can make one mistake for each step and get a chance to try a second time. However, if they get any step wrong twice they will be transported back into the lobby and will have to restart the experience from the beginning.
-
Identify and Remove Hazards. Possible Hazards:
-
Chairs
-
Trash cans
-
Spools of wire
-
-
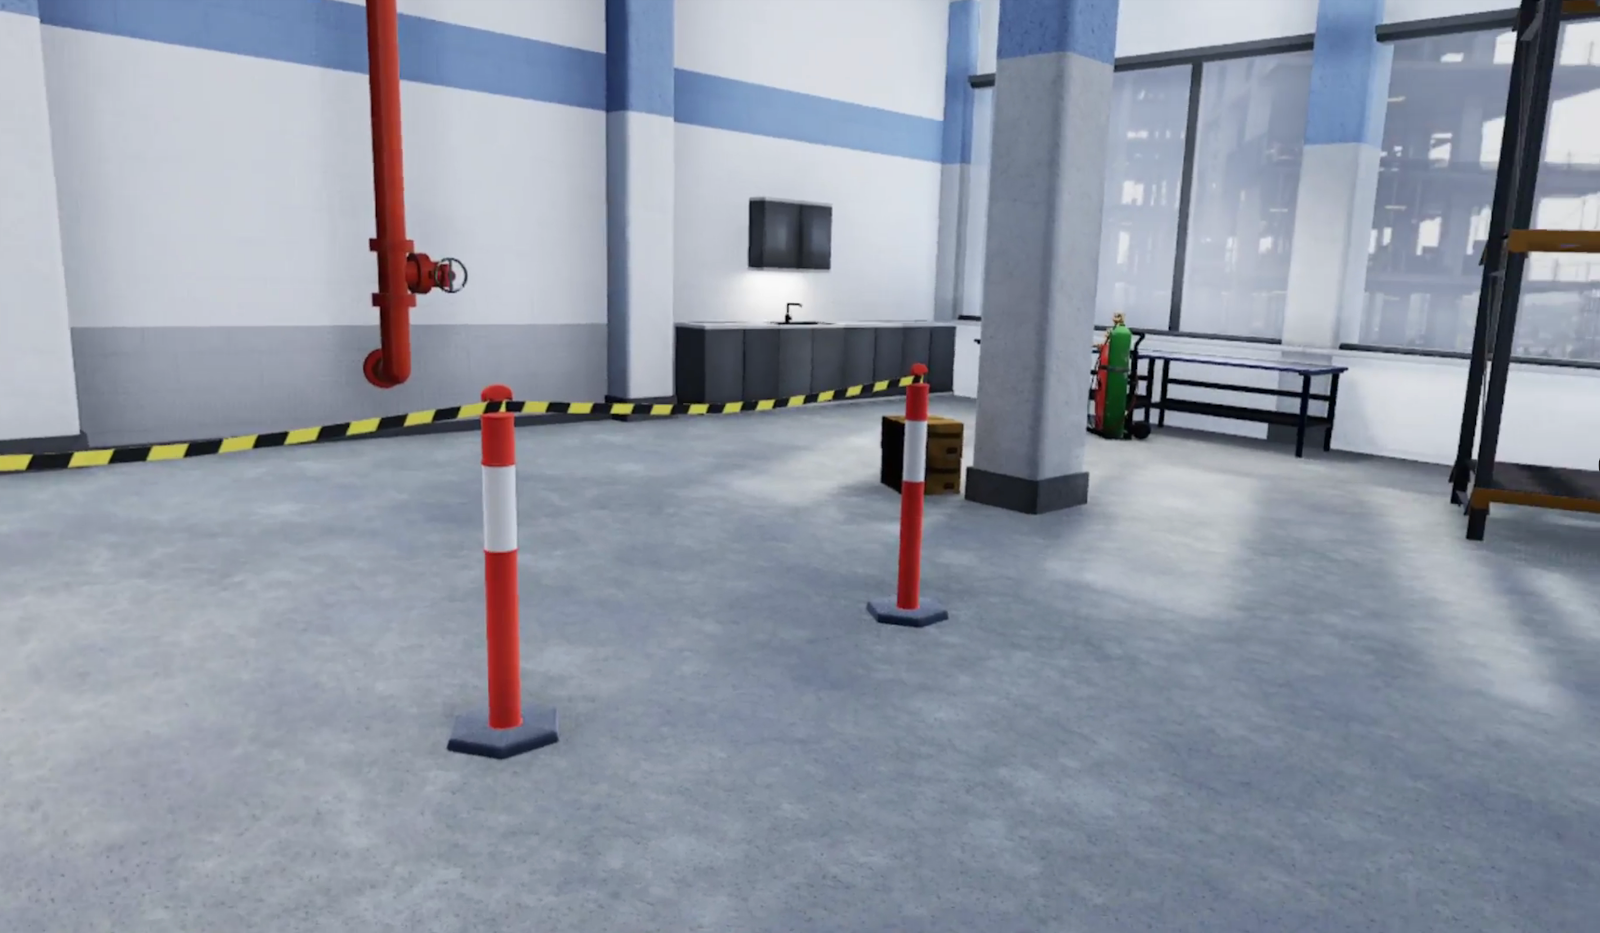
Place Safety Bollards
-
Select the Safety Bollards with your laser pointer (located next to cabinet)
-
Select option where bollards are placed in this orientation:
-
-
Identify Exits
-
Find and select Exit Sign
-
Select “Prop the Door Open”
-
-
Tap Smartwatch (located on left wrist)
-
Equipment Select — Select:
-
Waterproof Flashlight
-
Gloves
-
Rescue Crook
-
Isolation Sign
-
Fire Blanket
-
-
Equipment Check — Select version that is most appropriate for use.
-
Incorrect Selections:
-
Waterproof Flashlight — Dirty, Broken Glass
-
Gloves — Hole in Finger
-
Rescue Crook — Missing red handle, Broken
-
Isolation Sign — "Caution Do Not Enter" sign, Ripped string, Part of text rubbed off
-
Fire Blanket — Visible tears, Evidence of being previously used
-
-
-
Mark Isolation Point
-
Note: Cannot be done until after after safety tools have been chosen and inspected
-
Grab Isolation Sign from table and place on isolation point
-
-
Test Gloves — Use triggers to hold a glove and move it in a repeated circular direction following the holographic arrows
-
Choose Standing Location — Select the option closest to the table.
-
Dial Emergency Services with Smartwatch
-
Tap Smartwatch
-
Select Phone Number (depends on local region selected in lobby)
-
Select "Ambulance"
-
Select "Male"
-
Select "Middle Aged"
-
Select "Warehouse"
-
-
Note: Do not touch the electrified cabinet or the colleague until fire blanket is used, it will trigger a failure
-
Isolate/Turn Off Power Switch
-
Pull Colleague off cabinet using Rescue Crook, then pull them backwards
-
Fire Blanket Placement
-
Select Fire Blanket from table
-
Select Hand Placement — select option with hands near colleague’s shoulders
-
Select Orientation — select option where blanket lies below the colleague’s chest
-
-
Pat Blanket with hands for 3 Seconds
-
Drag Colleague away from cabinet (use both controllers)
-
Questions
-
Next Priority — select “Check for breathing and provide CPR if necessary”
-
Emergency Services — select “Secure the area ready for incident investigation”
-
Duty of Care — select “Contact your manager and advise of the incident”
-
-
Repeat Scenario
For a more detailed walkthrough of the module, see the Low Voltage Rescue User Guide.

