

Overview: This guide will walk you through everything that you can do as a Developer within the PIXO Platform.
Related Articles:
-
Full PIXO Platform Guide (covers all Platform tabs + user roles)
-
Platform Guides for other User Roles (folder)
Permissions
User Role Breakdown
-
Student — trains in headset and only uses the Platform to change their password
-
User — trains in headset and uses the Platform to view their own session data
-
Manager — uses the Platform to view their organization’s session data
-
Admin — uses the Platform to view their organization’s session data, manage users, create organization units/groups, and provision access to training titles
-
Developer — uses the Platform to upload their organization's training modules
-
Superadmin — an admin who can view session data, manage users, create organization units/groups, and provision access to training titles in their own organization and in their sub organizations
Initial Login
The first step is to sign in with your credentials. These credentials will be provided to you by a PIXO Sales Representative.
Assisted Login
To generate a one-time passcode that you can use to login in VR without needing to type your full login credentials, select "Assisted Login" under the "Hi, Name" greeting menu:
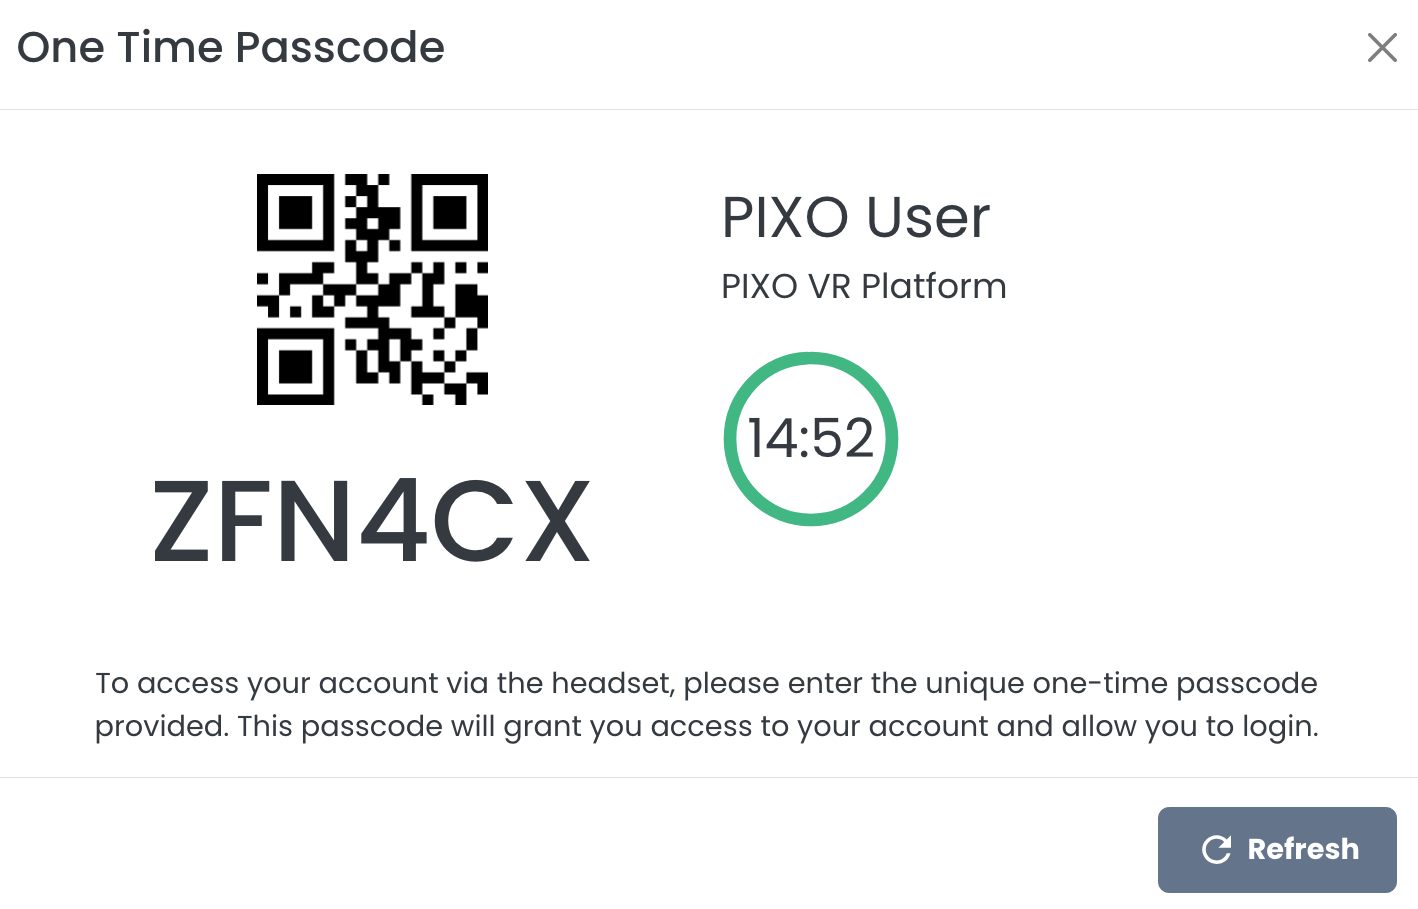
You will have 15 minutes to enter the provided one-time passcode into the username field of the PIXO login screen in headset:
The APIs Tab
The APIs tab provides tools to developers in order to send/receive data from PIXO VR through the External API and Webhooks secondary tabs.
External API
Our External API provides a structured and consistent way for you to send and receive data from PIXO VR. Developers can refer to this page for documentation on how to generate and configure API keys, GraphQL queries and mutations, and common errors/troubleshooting tips.
Webhooks
Through the Webhooks page, superadmins can register webhook endpoints for organizations to receive real time notifications when new sessions are completed.
Tip: As a Developer, you can view your organization's existing webhooks from this page, but not create new webhooks.
The Analytics Tab
The Analytics tab contains the Sessions and Leaderboard tabs. These tabs allow you to access your organization's session data.
The Sessions Tab
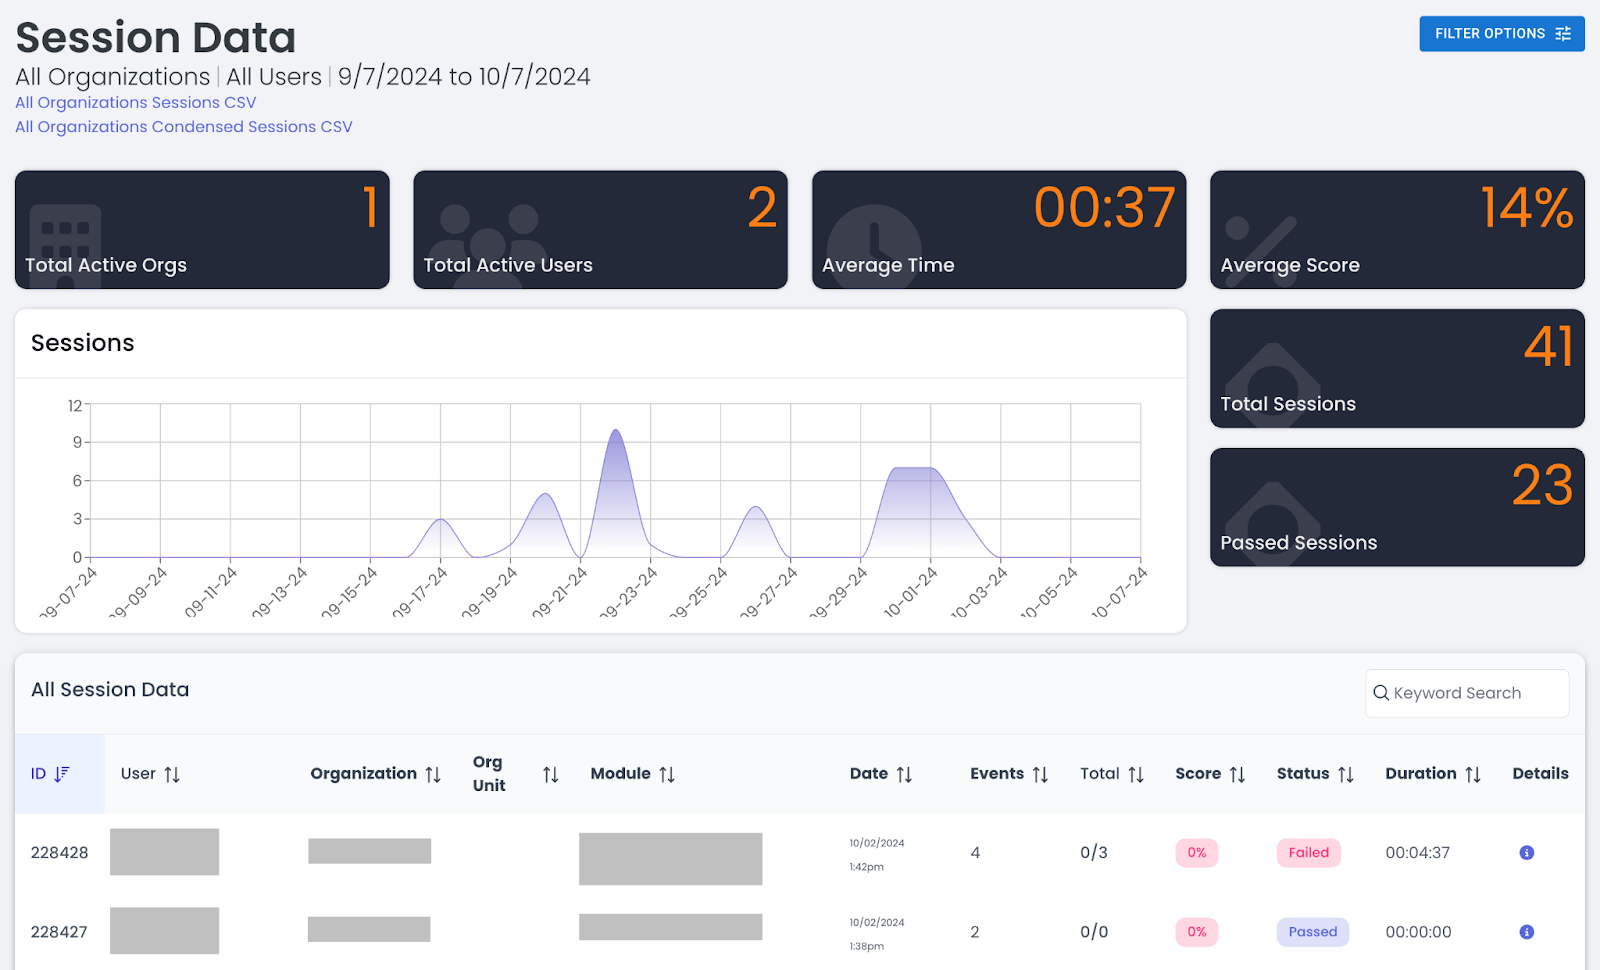
The Sessions tab allows you to see how users are doing with the content, time spent doing training, scores from training assessments, and a host of other data points. This information can be filtered by user, group, organization, or across all of your programs.
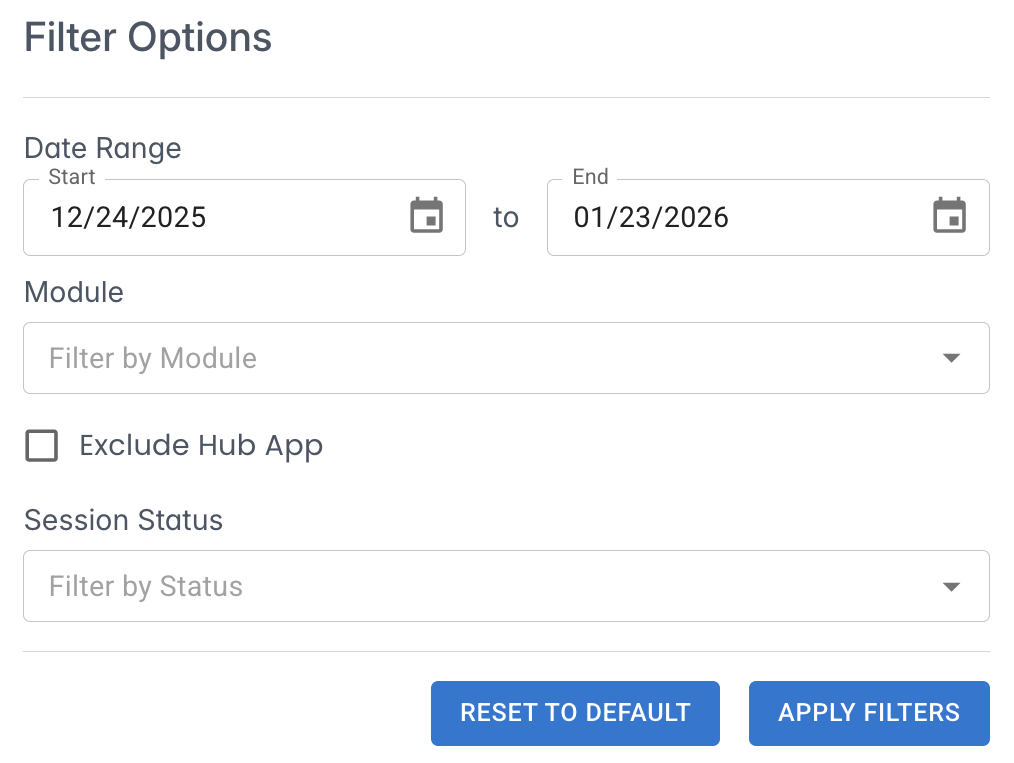
Filter Session Data
-
Click the "Filter Options" menu in the upper right corner:

-
Fill out the relevant fields, then click "Apply Filters":
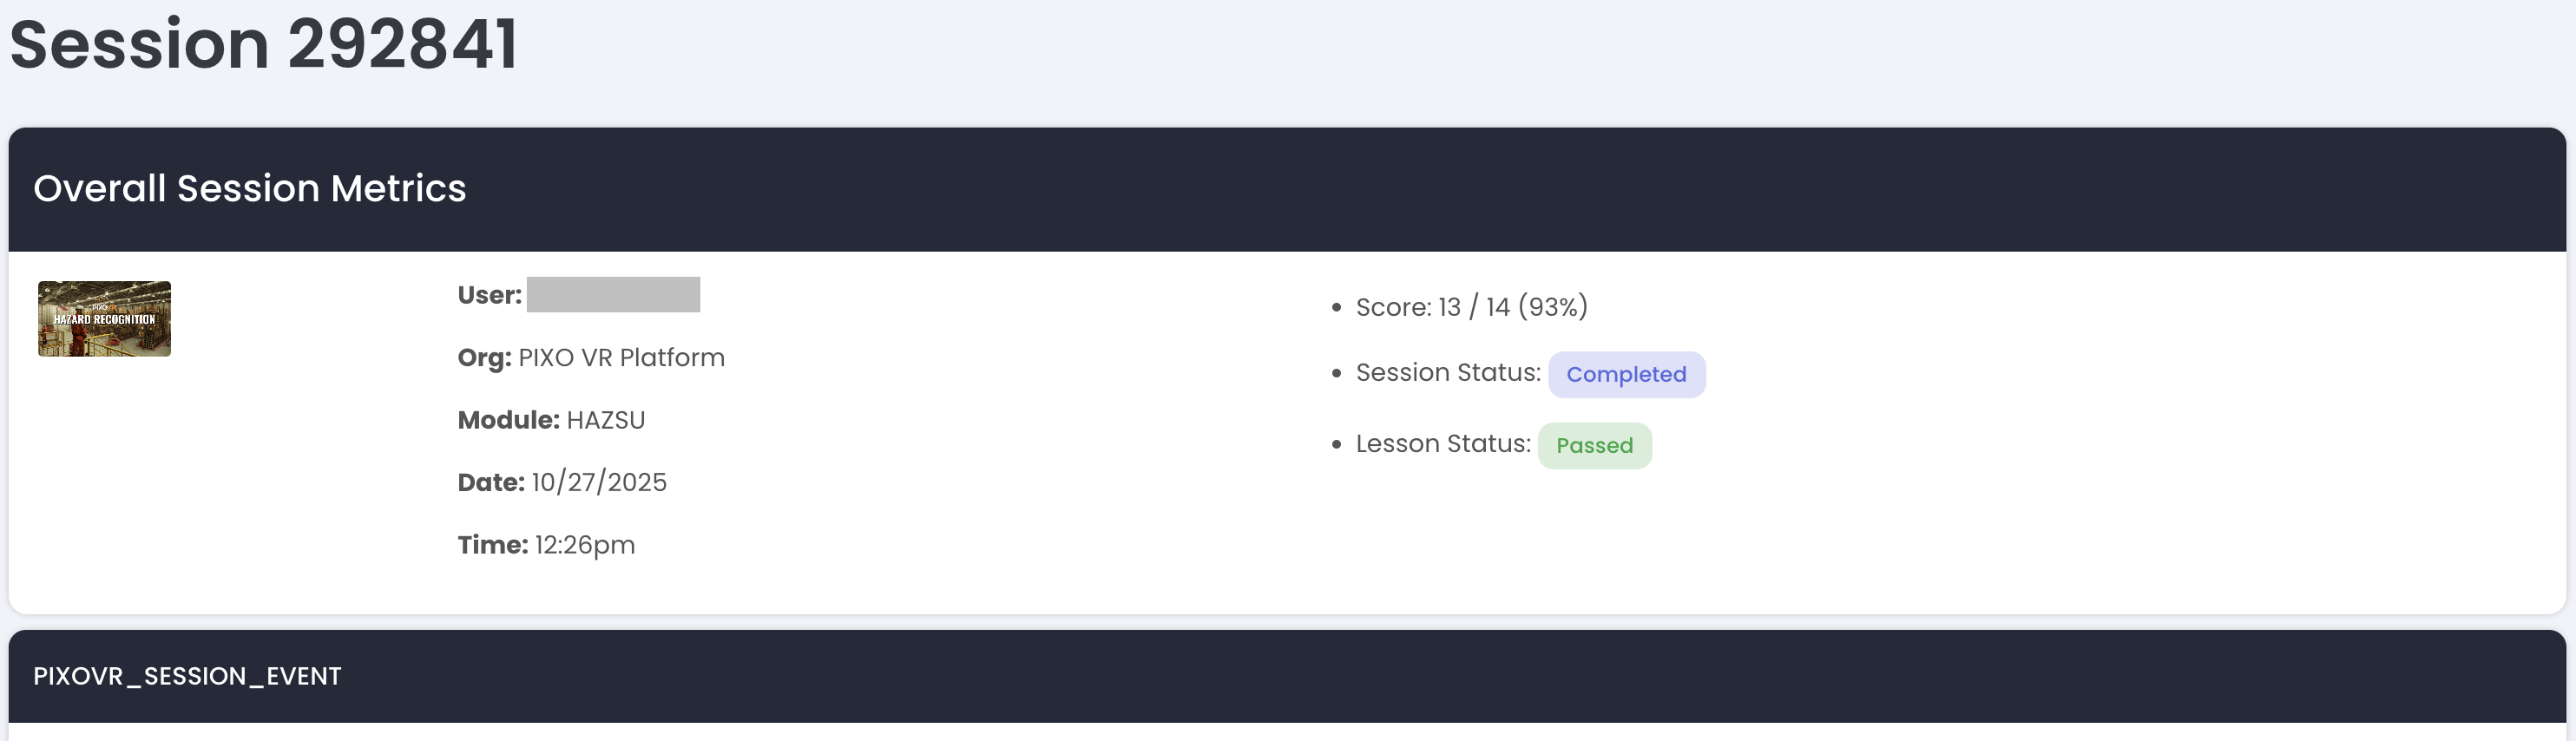
View Session Details
-
Locate your desired session from the "All Session Data" section.
-
Next to the desired session, click the "Details" icon.
-
You can then view the overall session metrics (user, org, date/time, score, session status and lesson status) and event data for the session:
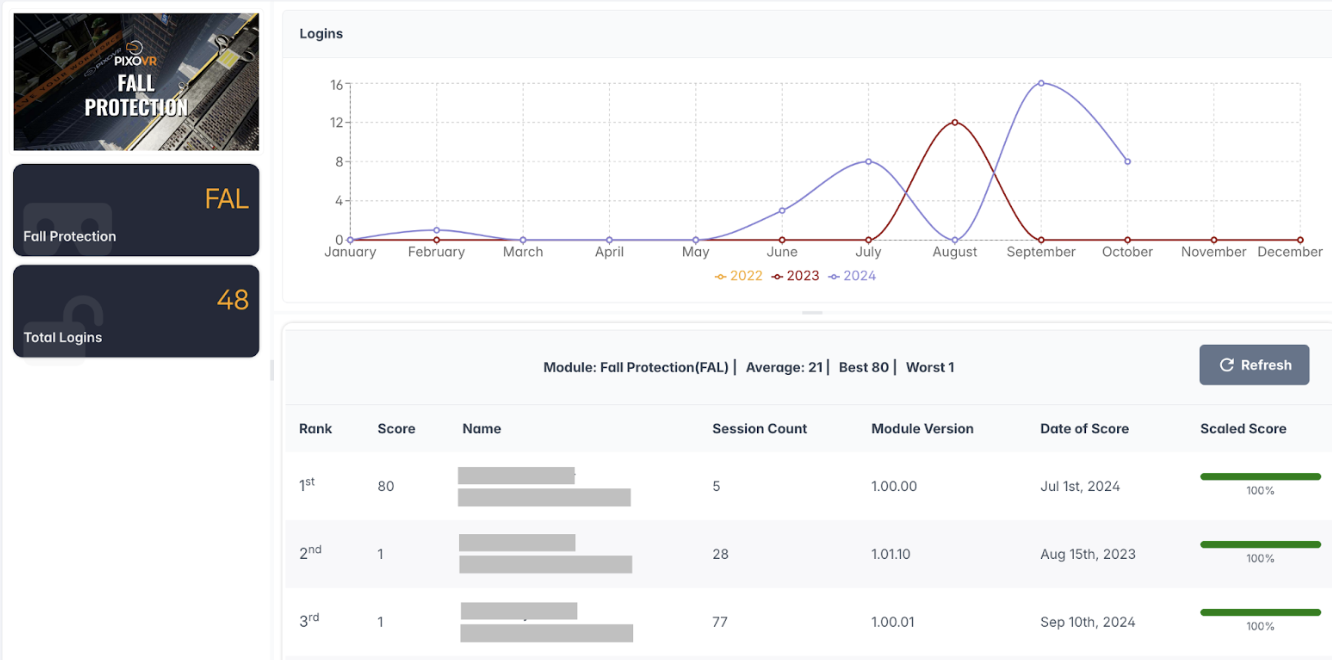
The Leaderboard Tab
The Leaderboard tab gamifies training sessions by adding a fun, competitive element by encouraging engagement and a bit of friendly competition.
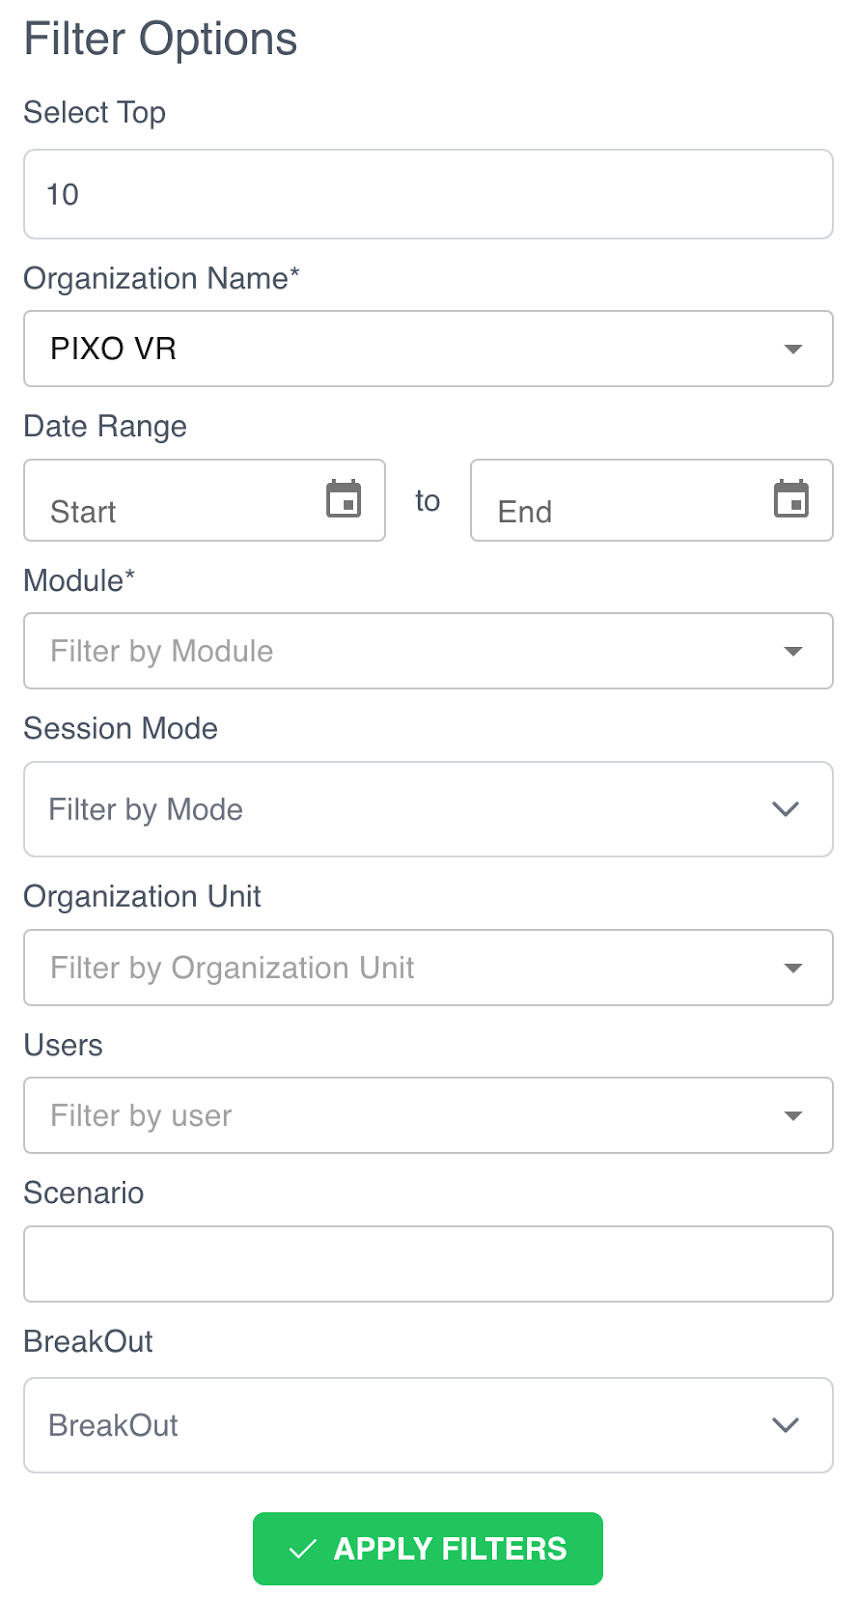
Create a Leaderboard
-
Click the "Filter Options" menu:
![]()
-
Fill out the relevant fields.
-
Click the "Apply Filters" button at the bottom of the form when finished.
The Training Tab
The Training tab contains the Courses sub-tab.
Courses
In the Courses tab, you can see a library of all the modules that you have access to download.
The library is split up into three categories: Your Modules, Players, and Available Modules
-
Your Modules — a list of all the modules you have access to download
-
Players — players that you have access to download
-
Available Modules — a list of modules you don’t currently have access to but can be purchased by reaching out to a PIXO Sales Representative

If you select one of the modules on this page, you can read a description of the module and view its most up to date builds that you can download, download the user manual for the module, and watch a video showcasing the module.
The Modules Tab
The Modules tab is where you can keep track of and manage all modules.
Add a New Module
-
Select the "Add Module" button in the upper right corner:
-
First, upload an image of the module that will display in the Module Library (we recommend a 16:9 pixel aspect ratio). You can also upload a User Guide PDF for the module here, but this is optional and can be uploaded later.

-
Next, fill out the module’s details. Not all fields are required, but we recommend filling out all fields if possible.
-
Type an abbreviation for the module and the module’s name.
-
Tip: The Module’s Abbreviation will not be editable after creation.
-
-
Select an "Industry" and "Distributor" from the dropdown menus, then type the "Developer Name".
-
Leave the "Player" field blank unless you have specifically been told to upload the module to a Player.
-
Tip: A Player must be created and added to the Platform first in order to be able to select it from the dropdown.
-
-
For the External ID field, type the module’s "External ID" or Share Code. If the module is a Bonfire module, the Share Code is available in the Bonfire Builder, and can be obtained by asking the Designer who is creating the module.
-

-
Next, click the checkboxes next to any flags that are relevant to the module:
-
Demo — Demo Modules will be shown to all users.
-
Public — Public Modules are visible to all users and organizations. If the module is not public, only the organizations that have permission will see the module under the “Available Modules” section in the Platform.
-
Leave this unchecked for custom content that is intended to be private.
-
-
Enable Passing Score — allows a minimum passing score to be set on a user assignment for the module.
-
Status — select "Enabled" if the module is currently active.
-
To temporarily disable the module, select "Disabled".
-
-
Authenticated Launch — allows a user to launch the module from the PIXO Hub App without providing credentials.
-

-
Lastly, add a short description for the module and any categories.
-
Tip: There is also a “long description” section, but the new standard practice is to only fill out the short description. This section is limited to 500 characters at max and should be a brief overview of the module.
-
See below for an example of how the short description appears to end-users on a Module Page:
-

-
Click "Save Module" when finished.
Upload Module Versions
Once a module has been created, you can upload versions of the module.
-
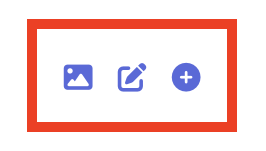
Select the "+" icon next to the module name from the Modules List.
![]()
-
Click "Choose File" to upload the module version’s zip file, then fill out the remaining fields.

-
Click the "Add Version" button when finished.
Edit or View Modules
To view or edit a module, select the respective icon next to the module in the "Modules List":
Tip: As a developer, you can only create or edit modules. In order to delete a module, you will need a Superadmin account.
The Help Center Tab
Click the Help Center tab to access documentation regarding the PIXO platform.
Questions and Support
If you have any issues, please contact our tech support team at [email protected]

