
V1.0

See below to set up a PICO headset. This applies to PICO 4 Ultra and PICO Neo 3 devices.
Helpful Links and Related Articles:
Device Setup
1. Turn On Device
To turn on your PICO controller for the first time, remove the insulating paper.
To turn on the headset, press and hold the power button on the right side of the device for approximately two seconds. Pull the trigger on your device to proceed to the next step.
2. Set System Language
Select your desired language from the language page. Next, choose your country or region for a VR experience tailored to your needs.
3. Connect to Wi-Fi
Connecting your headset to Wi-Fi provides access to multiplayer features, the PICO store, and other online capabilities.
To connect your device to Wi-Fi, select your Wi-Fi network from the list that appears on the display, enter your password, and click "connect".
4. Complete Registration and Log In
Set up a PICO account using the PICO VR assistant app on your mobile device. Creating an account is fast and requires the user to enter minimal information.
After a quick email verification and password creation, go to the "Sign Up" page on your headset and enter the requested information from your PICO account.
5. Accept the Terms of Agreement
You must accept PICO's terms of agreement during the setup process. After entering your registration and login information, read the terms that appear on the screen, including information about risks associated with using a VR headset and analytics sharing information.
6. Adjust Headset Angle
Use the strap dial to adjust your headset so that the padding on the rear strap fits snugly at the back of your head. In addition, adjust the top strap to minimize pressure on the forehead.
For your convenience, this headset is compatible with prescription glasses.
7. Choose IPD
Selecting the appropriate interpupillary distance (IPD) minimizes feelings of motion sickness for a comfortable VR experience.
After fitting your headset, tap the "+" or "-" icons until the picture you see is clear.
8. Enjoy!
Your setup process is complete! Now it's time to check out the training modules on your PICO headset!
Developer Mode
-
Turn on your PICO headset.
-
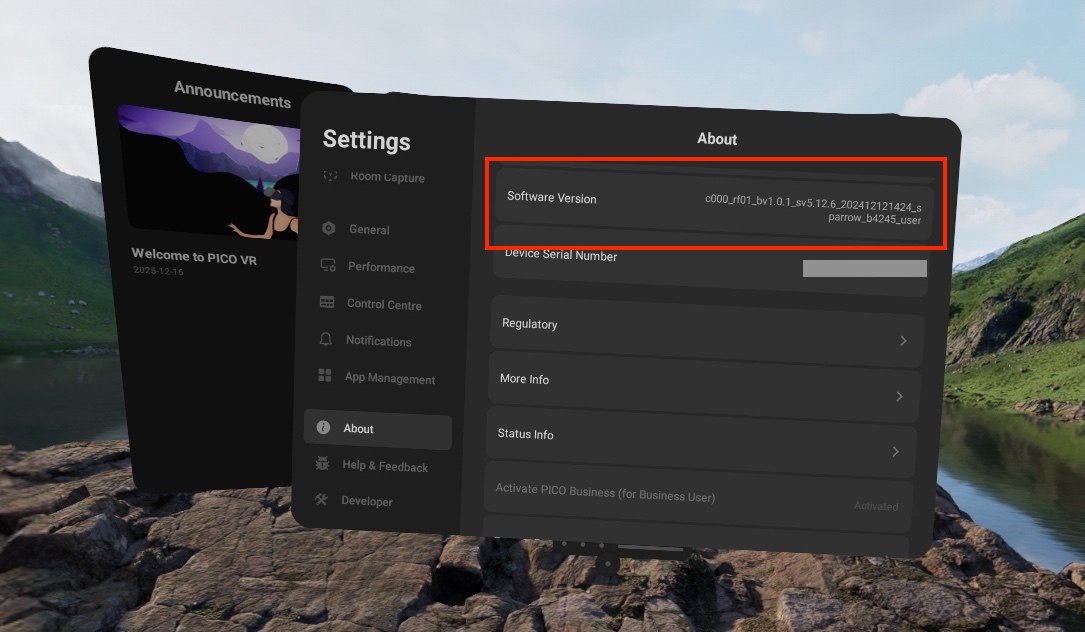
Select the "Settings" menu and scroll down to "About". Under the "About" menu, scroll to "Software Version".
-
Click “Software Version” at least 8 times until the “Developer” menu shows up on the left navigation bar.
-
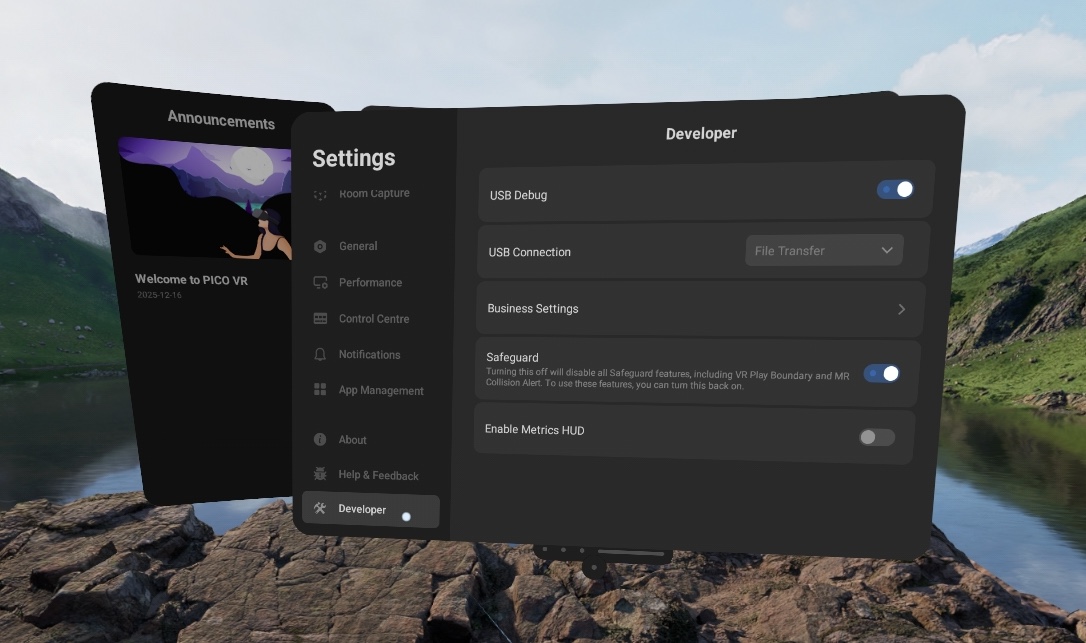
Click the “Developer” menu to find available developer options. You are now in "Developer Mode".
Launch Modules
To locate your PIXO modules:
- Turn on your PICO headset.
- Select the “App Library” Icon from the home menu.
-
Locate and open the PIXO Hub App (or another app tile).
-
Login with your PIXO Platform credentials.
-
Select the desired training module and start training!
Questions and Support
If you have any issues, please contact our tech support team at [email protected]

