
Overview
Setting up a PIXO Builder Module in the PIXO Platform is different from setting up a regular module, as it requires selecting the PIXO Builder during setup. See this guide for a quick breakdown.
Module Setup Steps
Once you’ve retrieved the module’s Share Code from Bonfire, you can set up the module in the PIXO Platform:
-
Login to the PIXO Platform.
-
Select the Modules tab from the left navigation bar.
-
Click the green Add Module button in the upper right corner:
Fill Out the Module’s Details
Note: Not all fields are required, but we recommend filling out all fields if possible.
-
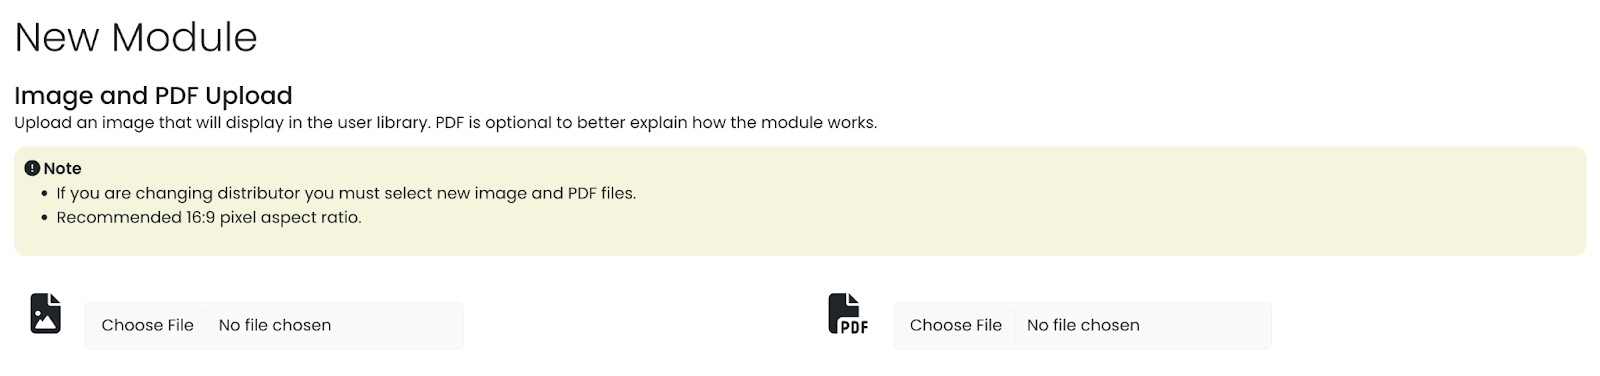
First, upload an image for the module. You can also upload a User Guide PDF for the Module here, but this is optional and can be uploaded later.
-
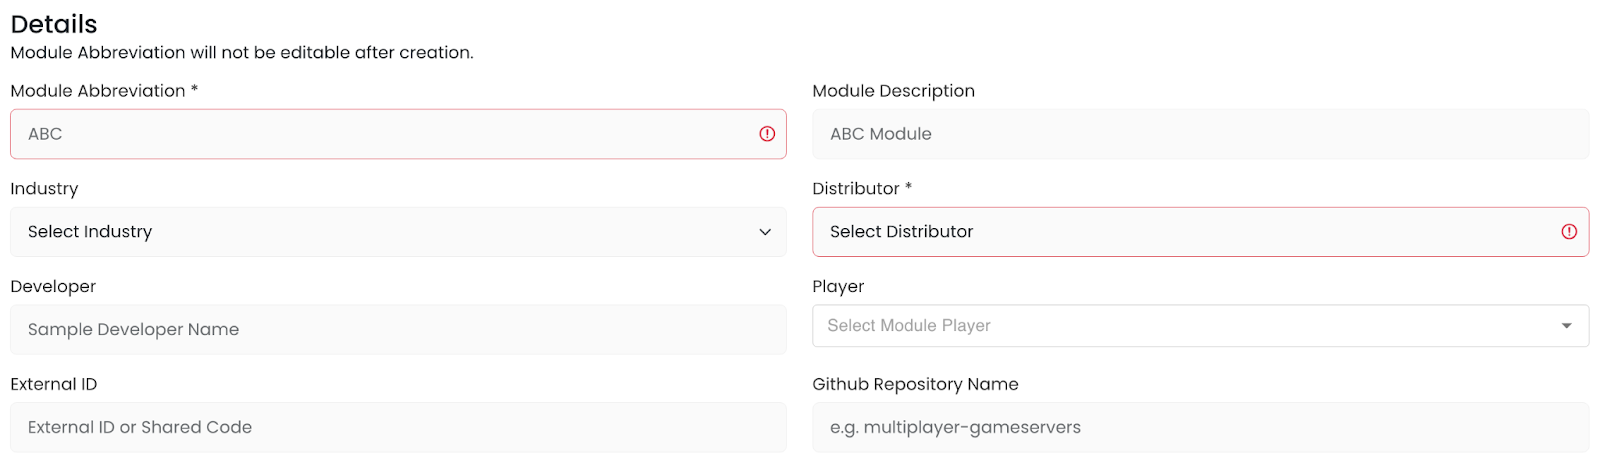
Next, type an Abbreviation for the module and the module’s name. Note: The module’s abbreviation will not be editable after creation.
-
Select an Industry and Distributor from the dropdown menus, then type the Developer Name.
-
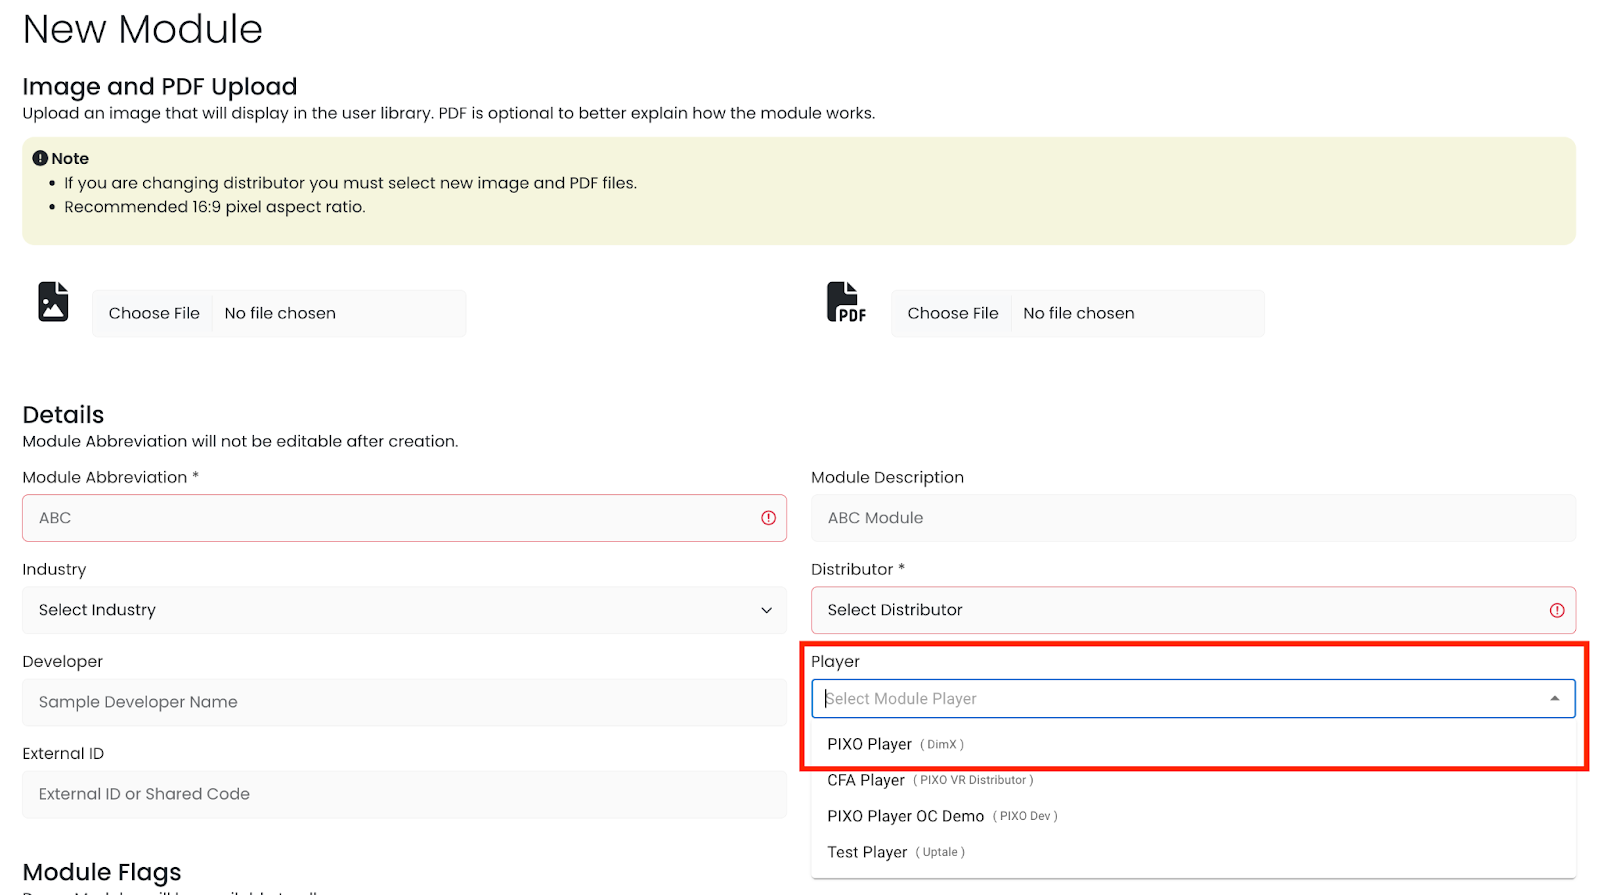
Under the Player dropdown, select the PIXO Player. Note: A player must be created and added to the platform first in order to be able to select it from the dropdown.
-
For the External ID field, type the module’s PIXO Builder Share Code. The Share Code is available in the PIXO Builder, and can be obtained by asking the Designer who is creating the module.

-
(optional) Type the Github Repository Name. This field is intended for PIXO Modules that are developed in-house for build automation opportunities.
-
Next, click the checkboxes next to any flags that are relevant to the module:
-
Demo — Demo Modules will be shown to all users.
-
Public — Public Modules are visible to all users and organizations. If the module is not public, only the organizations that have permission will see the module under the “Available Modules” section in the PIXO Platform. Leave this unchecked for custom content that is intended to be private.
-
Enable Passing Score — Allows Trainers to set a minimum passing score for the module on a per-user basis when setting up Training Rosters for planned training sessions.
-
Status — Select Enabled if the module is currently active. To temporarily disable the module, Select Disabled.
-

-
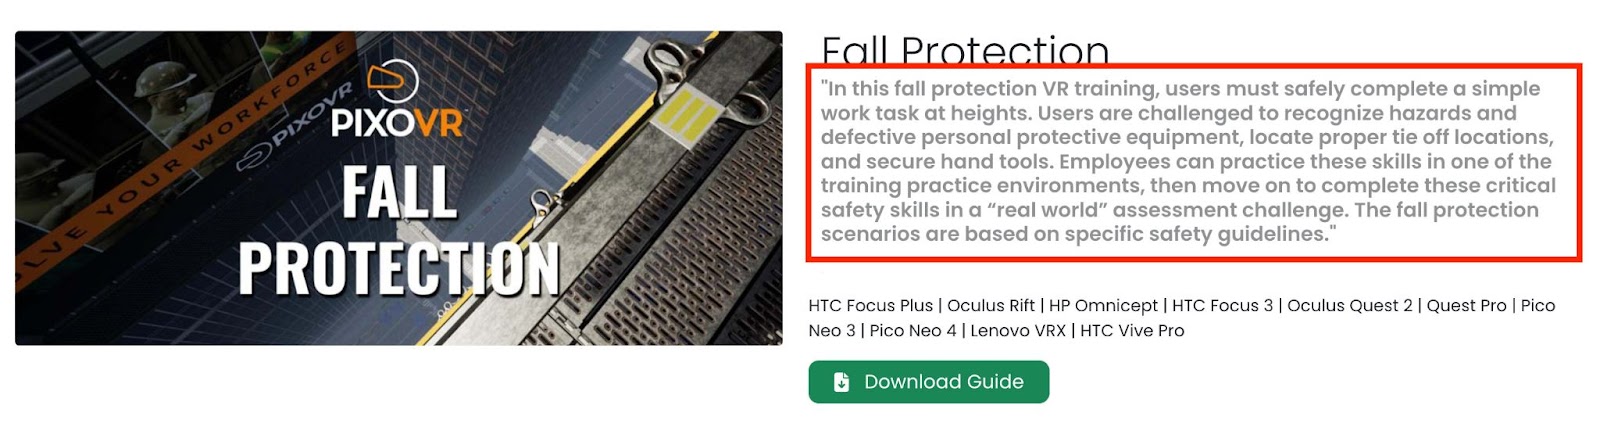
Lastly, add a short description for the module and any categories.
Note: There is also a “long description” section, but the new standard practice is to only fill out the short description. This section is limited to 500 characters at max and should be a brief overview of the module.
See below for an example of how the short description appears to end-users on a module page:
-
Click the Save Module button when finished.

