
V1.4

See below for steps on setting up a Meta Quest headset. This applies to Meta Quest 2 and 3 devices, as well as previous headsets like the original Oculus Quest 1 headset.
Additionally, you can check Meta's current setup instructions here.
Device Setup
-
Please access the reference material located within the box the headset comes in. Additional Resources:
-
Go to meta.com/websetup and set up your Meta account.
-
Log in or create a Meta account by continuing with Facebook, Instagram or Email.
-
For a new account, Meta needs your name, email address, phone number, payment information (not required), and date of birth.
-
-
Download and open the Meta Horizon Mobile App on your smartphone.
-
Ensure the headset is turned on, and on the same Wi-Fi Network as your mobile device.
-
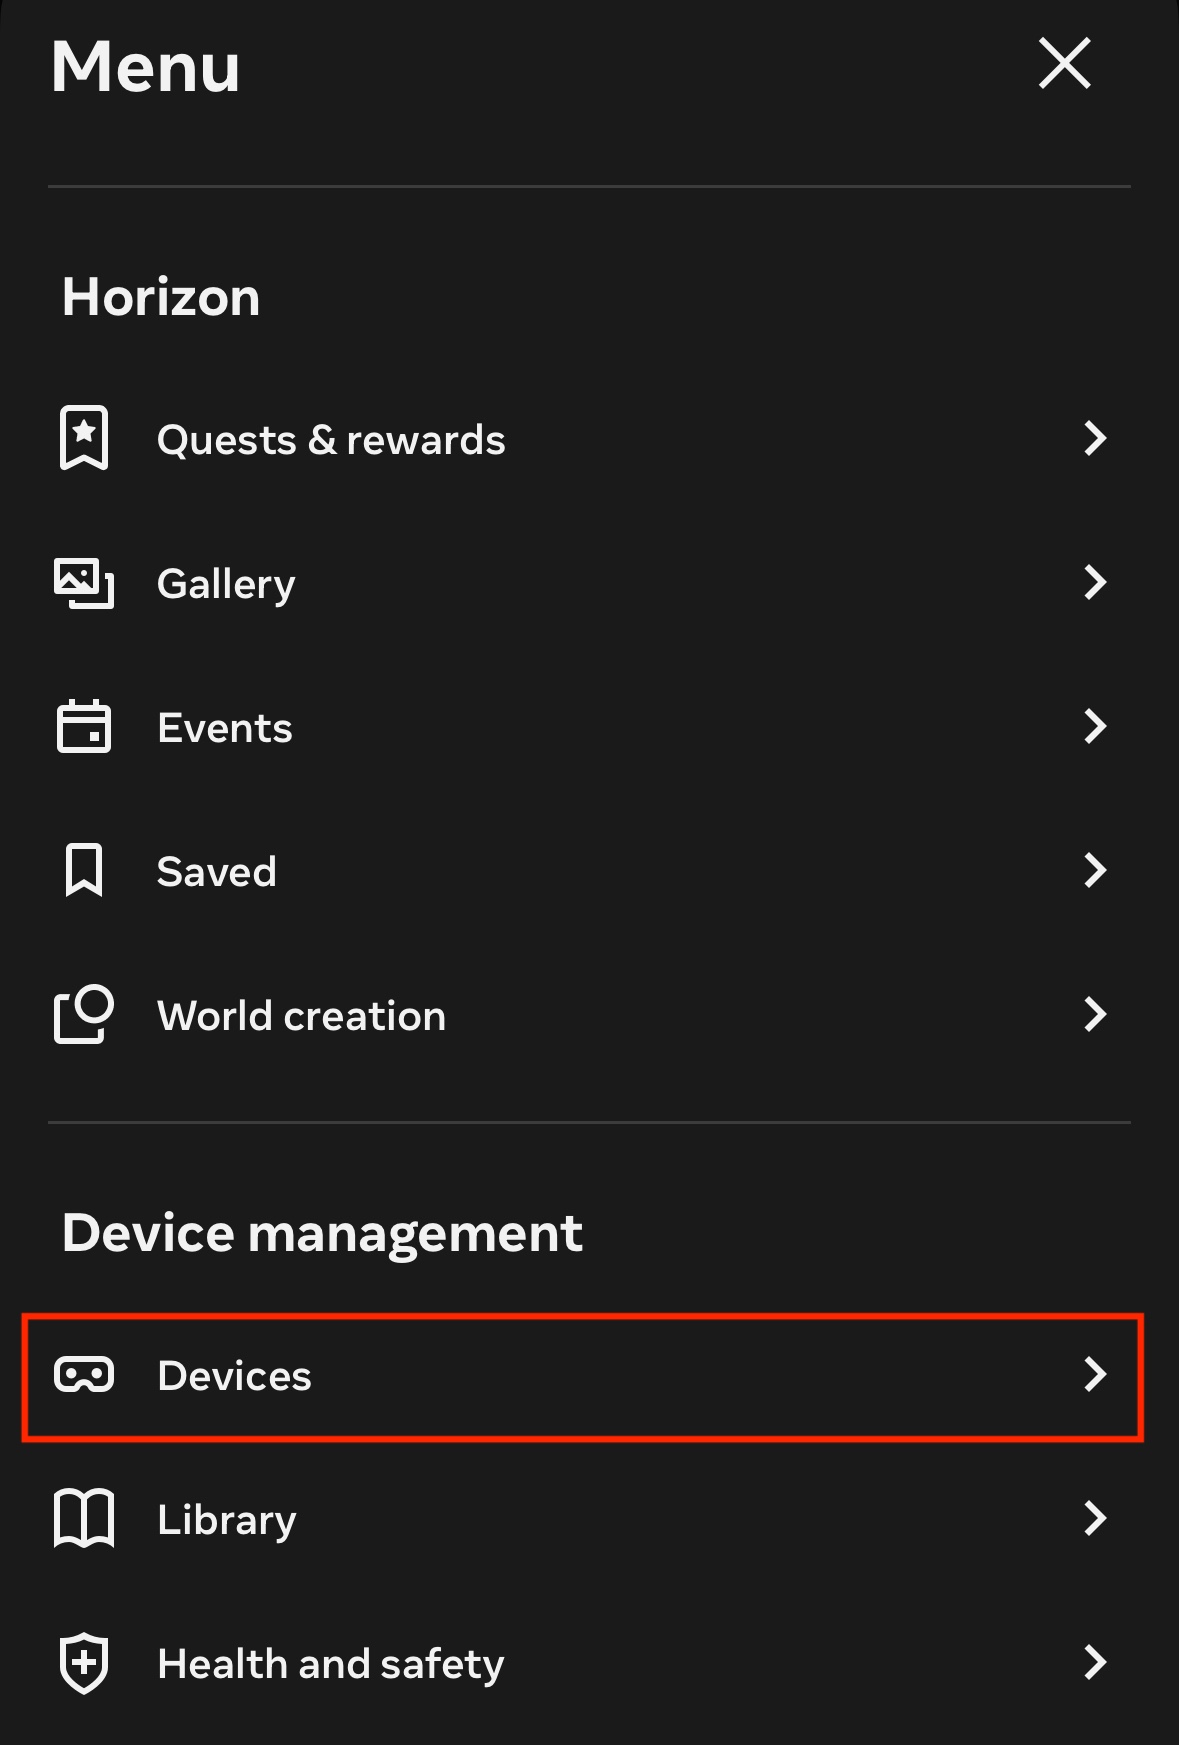
After logging in, open the three lines icon in the upper left corner:

-
Select "Devices"
-
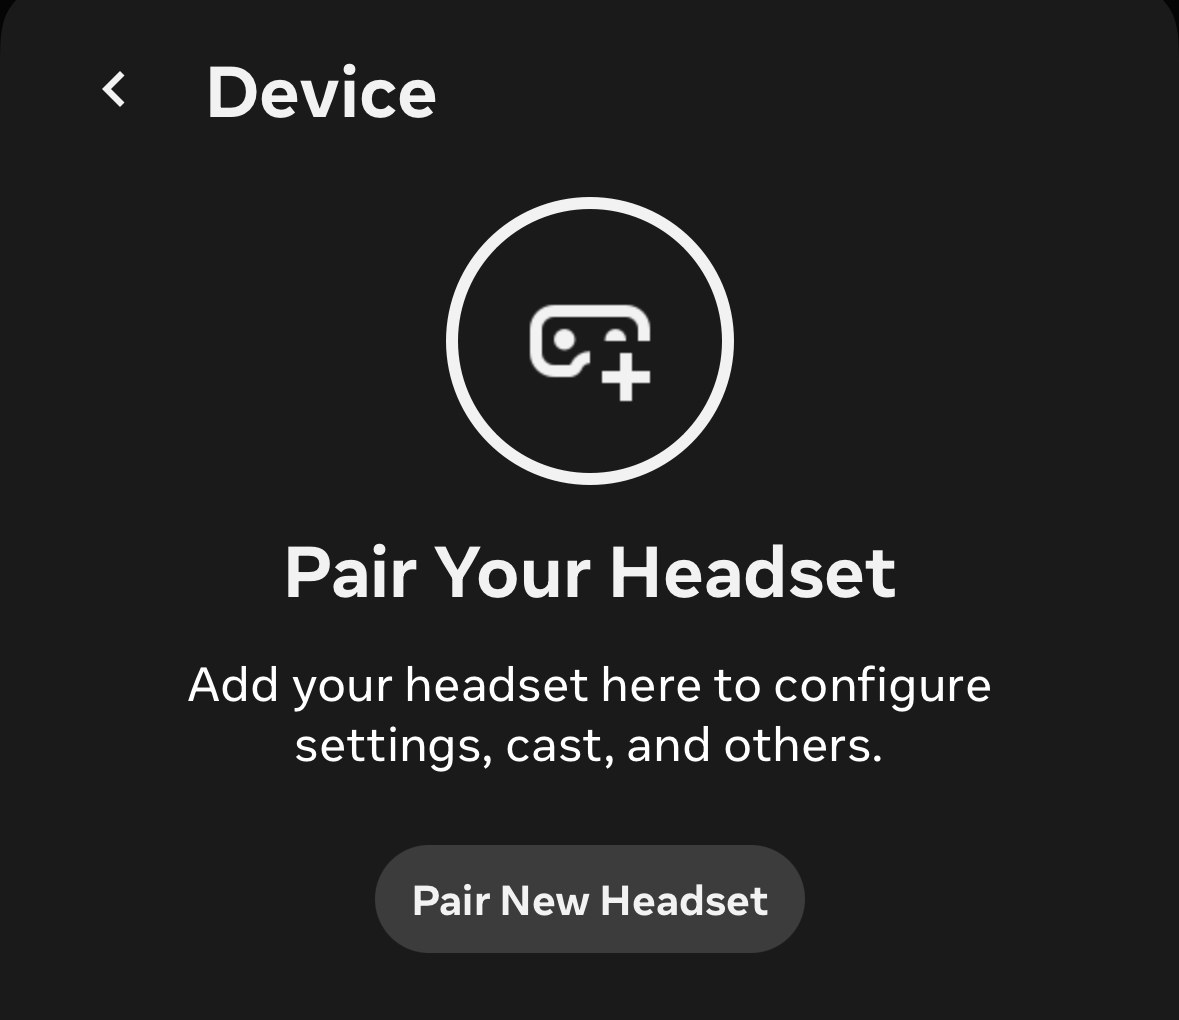
Select "Pair New Headset":
-
Select the type of headset that you're setting up and type the pairing code you see inside the headset into the app.

-
Developer Mode
-
Create a Meta Horizon developer account here, then verify your account and set up two-factor authentication.
-
Login to the Meta Horizon mobile app with your developer account.
-
Turn on your Quest headset.
-
In the mobile companion app, open the three lines icon in the upper left corner:
-
Select "Devices".
-
Select your headset.
-
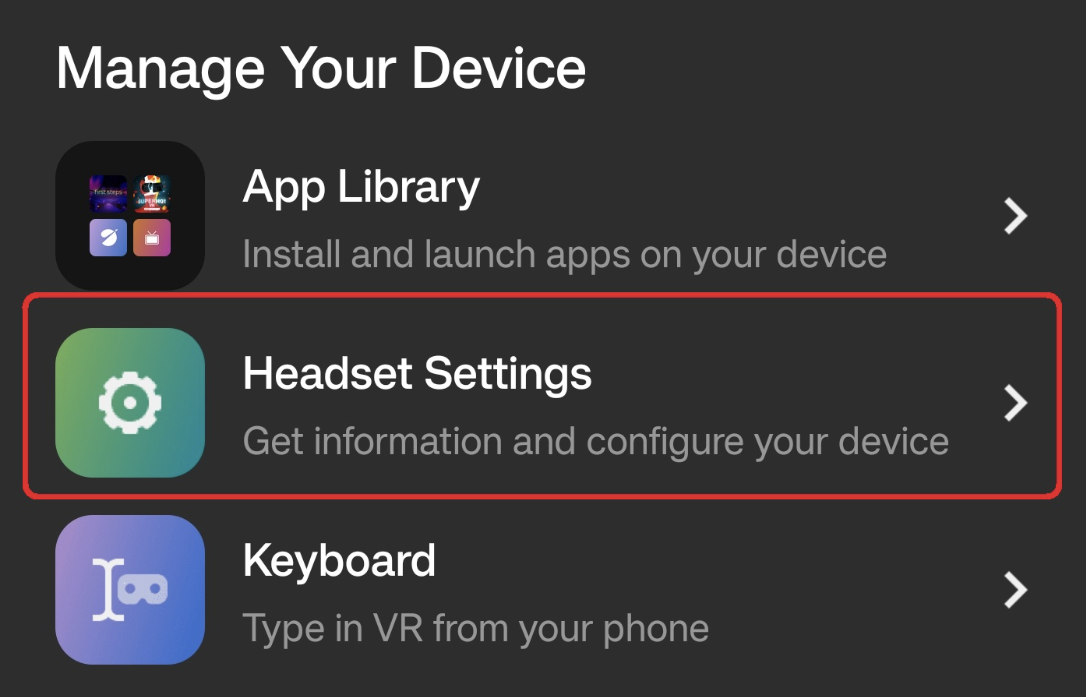
Select "Headset Settings > More Settings".
-
Select "Developer Mode" and toggle it on.

-
Exit the app & reboot your Quest headset using the power button.
-
After your Quest reboots, Developer Mode should be enabled. You can confirm this by checking the Quest's Settings Menu > Developer as seen below.

Download and Install Modules
-
Connect headset to a PC using the provided cable. If this is the first time you are connecting this device to a PC, you will need to allow a notification which pops up in the headset itself.
-
Put on headset. Select “Always Allow from this Computer” and “Ok”.

-
Download desired modules from the PIXO Platform and sideload them using SideQuest. For more information, see our SideQuest Guide.
Launch Modules
-
To locate your PIXO Apex Modules, select the “Apps” Icon.
-
Select the “All” Dropdown Menu.
-
Scroll to the bottom of the dropdown and select “Unknown Sources”. Any module(s) that you have downloaded will appear here.
-
Click on the module and start training!
How to Screencast with Quest
Casting allows you to share what you’re seeing in headset to a computer or TV.
Before Casting
-
Make sure your phone, computer and headset are on the same Wi-Fi network.
-
Make sure the headset and device you're casting to are logged into the same Meta account.
Cast to a Computer
-
On your computer, open your browser then go to https://horizon.meta.com/casting/ and log in.
-
In your headset, press the Meta button (or Oculus button) on your right controller to open the universal menu.
-
Select the clock icon on the left side of the universal menu to open "Quick Settings".
-
Select "Cast".
-
Select "Web", then select "Next".
-
Select "Computer", then select "Next" to connect.
-
To stop casting, open the "Quick Settings" menu again and select "Stop casting".
Cast to a TV
-
Use a smart tv with built in casting or purchase a Chromecast device and set up per the instructions that came with it.
-
Press the Meta button (or Oculus button) on your right controller to open the universal menu.
-
Select the clock icon on the left side of the universal menu to open "Quick Settings".
-
Select "Cast".
-
Select TV or Chromecast device from the list.
-
Select "Next" and follow the on-screen instructions.
-
To stop casting, open the "Quick Settings" menu again and select "Stop casting".
Questions and Support
If you have any issues, please contact our tech support team at [email protected]

