
V2.2

The Hub App is designed to provide a simple, easy to use interface for PIXO’s customers. With the Hub App, customers are able to customize the in-headset experience for their customers and employees. See below for installation instructions and a feature overview.
Related Article: Desktop Hub App Guide
Install the Hub App
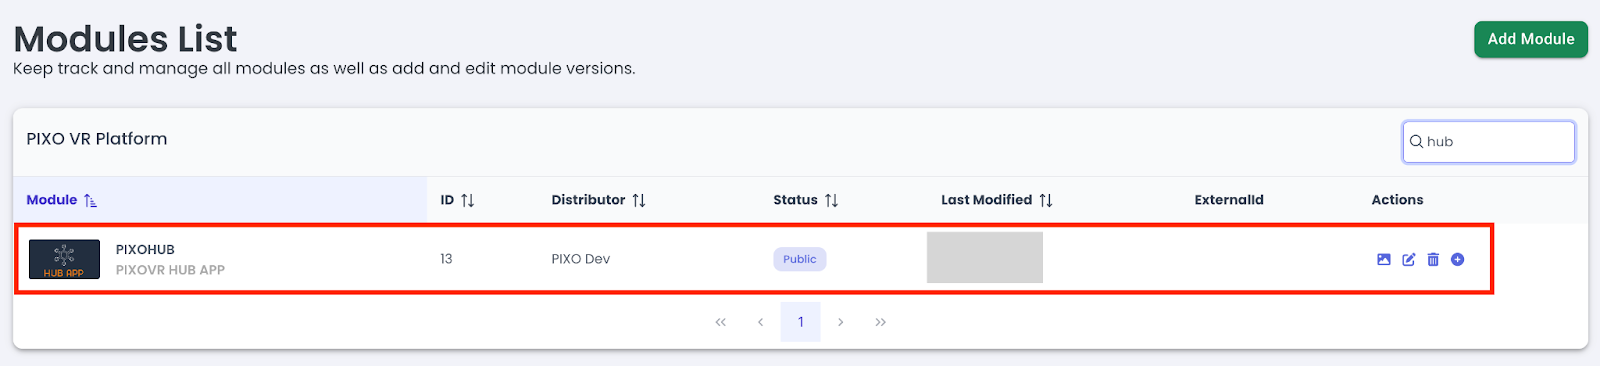
To install the PIXO VR Hub App, log in to the PIXO Platform and navigate to the Modules tab.
Locate the “PIXOVR HUB APP” from the list of modules, then select the "View Module" icon next to the Hub App (below the Actions column) to view the module and downloadable builds.
Select the "Download" icon next to your preferred Platform:

Your computer will download the Hub App installation file. When the download is completed, open it and extract the file (double click the unzipped folder), then sideload the application. For sideloading instructions, see our How to Install and Use SideQuest Guide.
Install the PIXO Player
In addition to installing the Hub App, you must also install the PIXO Builder if you would like to launch any modules created using the PIXO Builder system.
To do this, download the PIXO Builder from the PIXO Platform and install it the same way you installed the Hub App.
Login
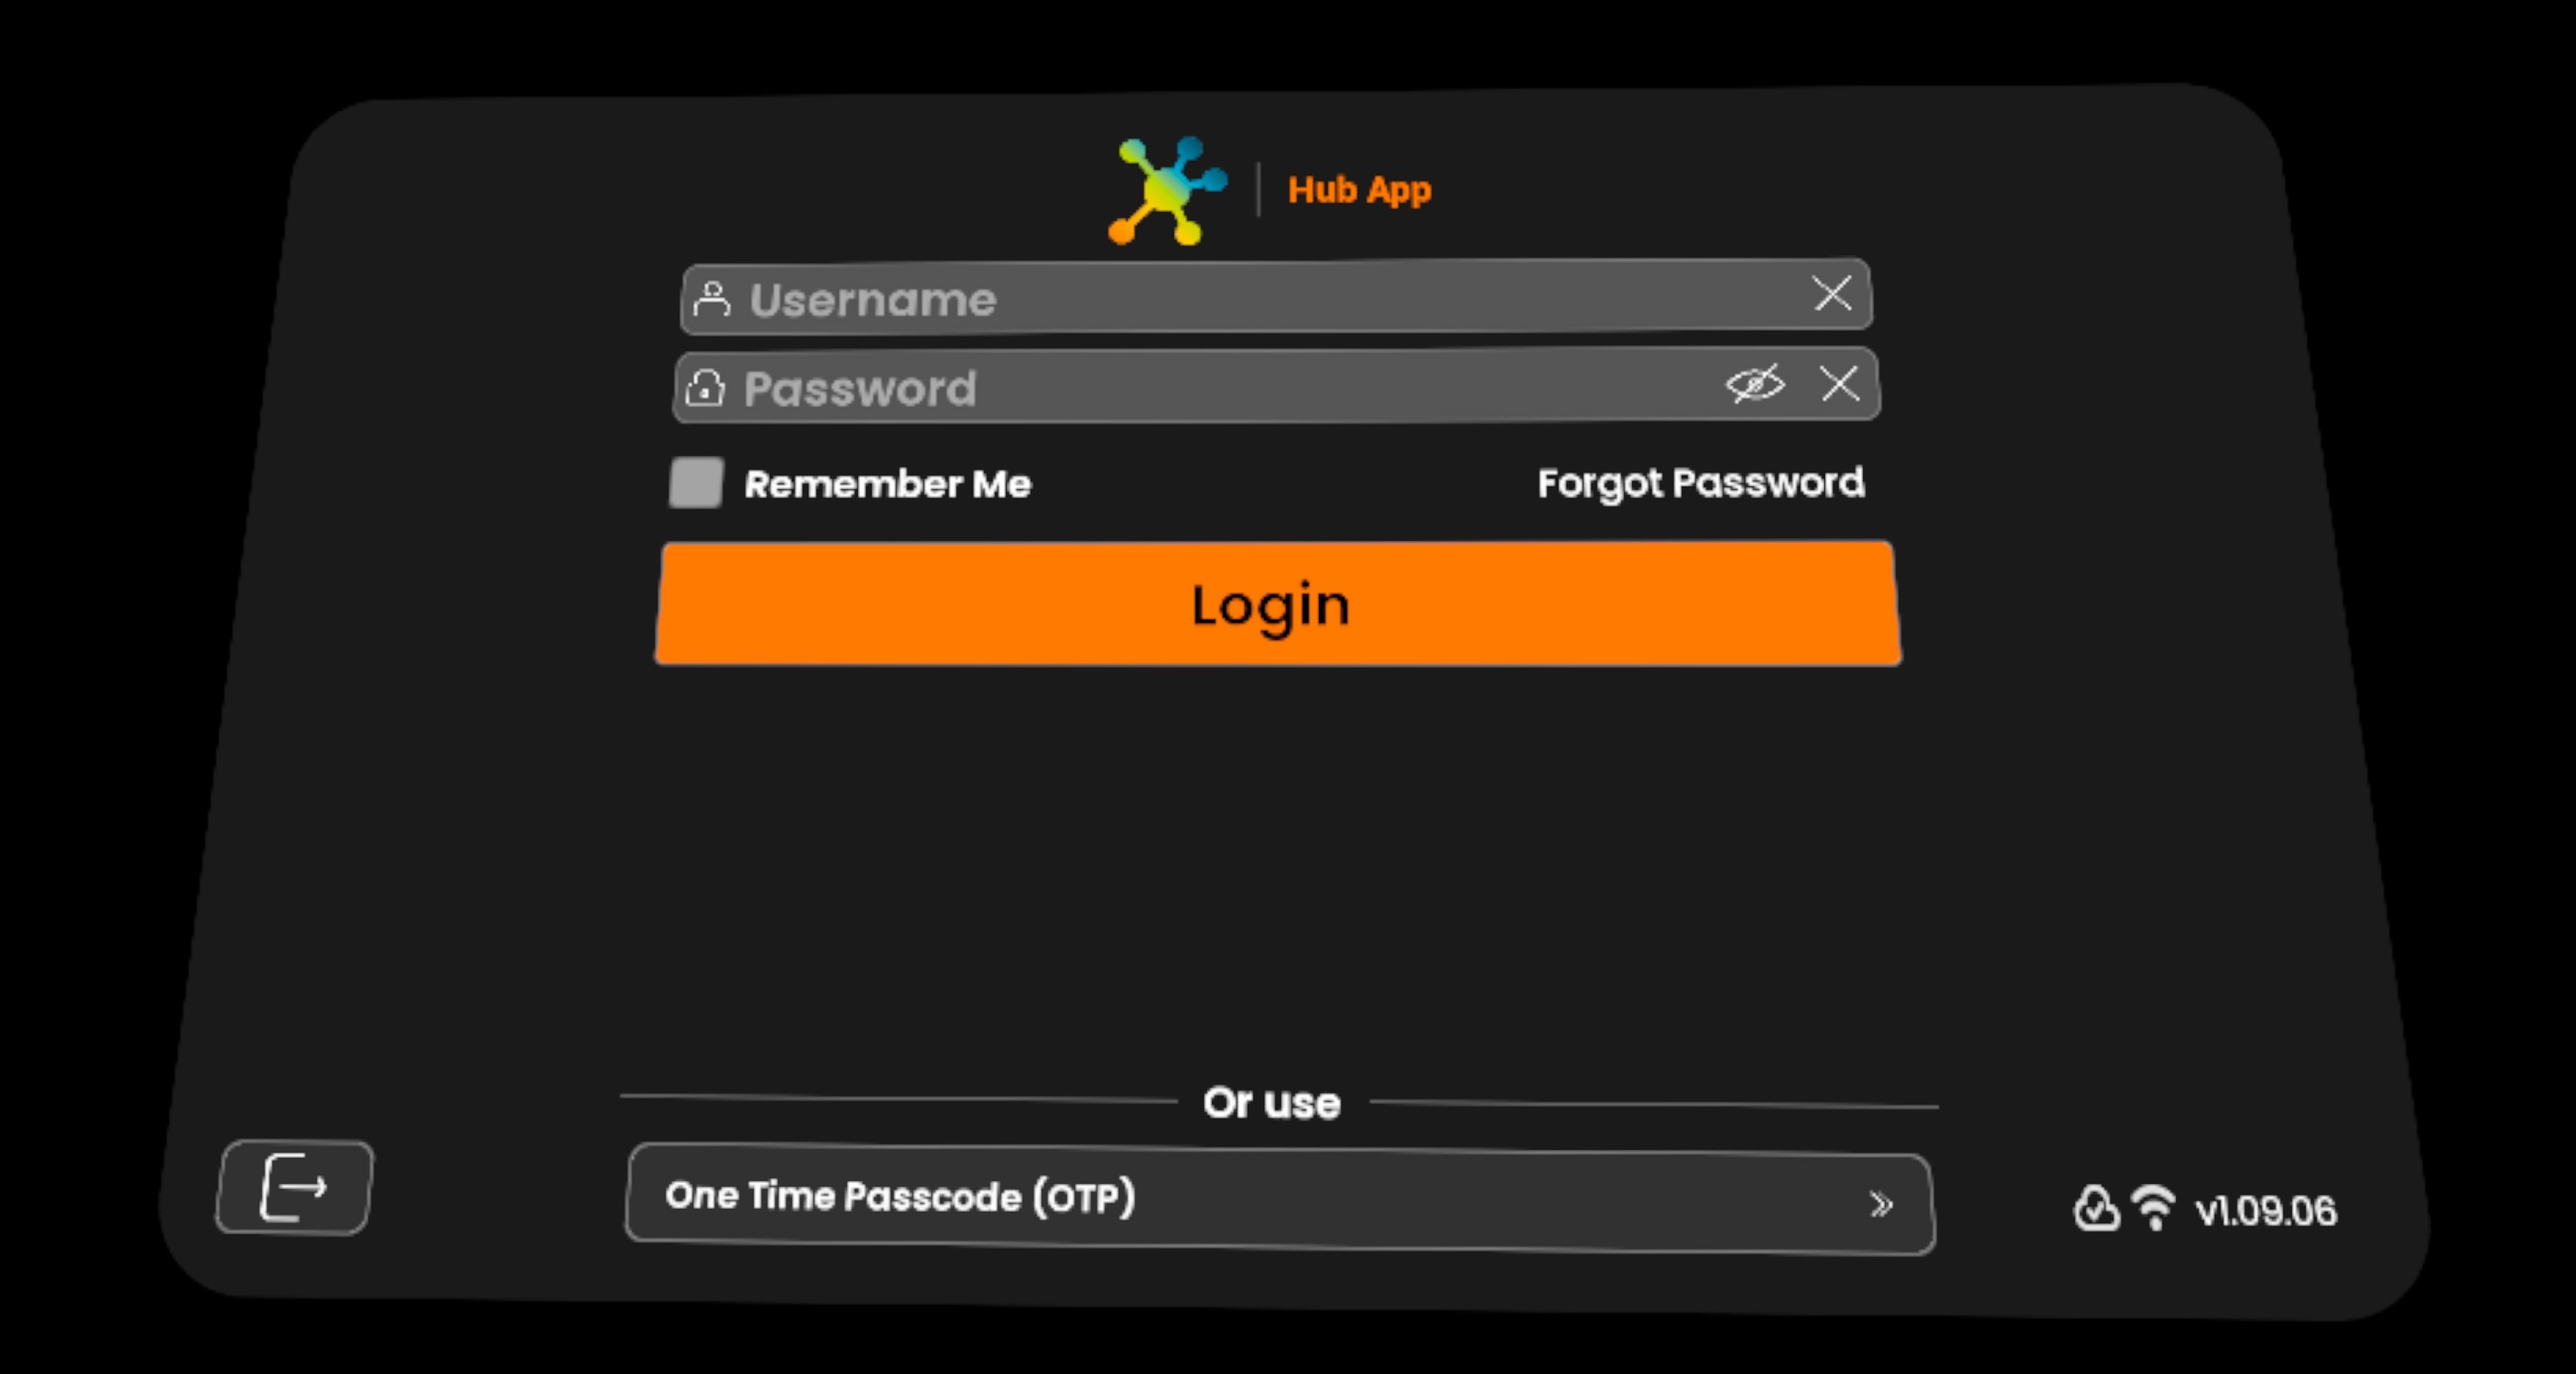
Once the Hub App launches, you will be prompted to log in to your PIXO account. This will be provided for you by your organization’s administrator, or by a PIXO VR Representative.
Note: The login must be performed from a computer that is connected to the internet for authentication to work successfully.
Enter your PIXO credentials in the corresponding fields, then select "Login".
-
Tip: Select the "Remember me" flag to save your login credentials.
Login with One-time Passcode
To generate a one-time passcode that you can use to login in VR without needing to type your full login credentials:
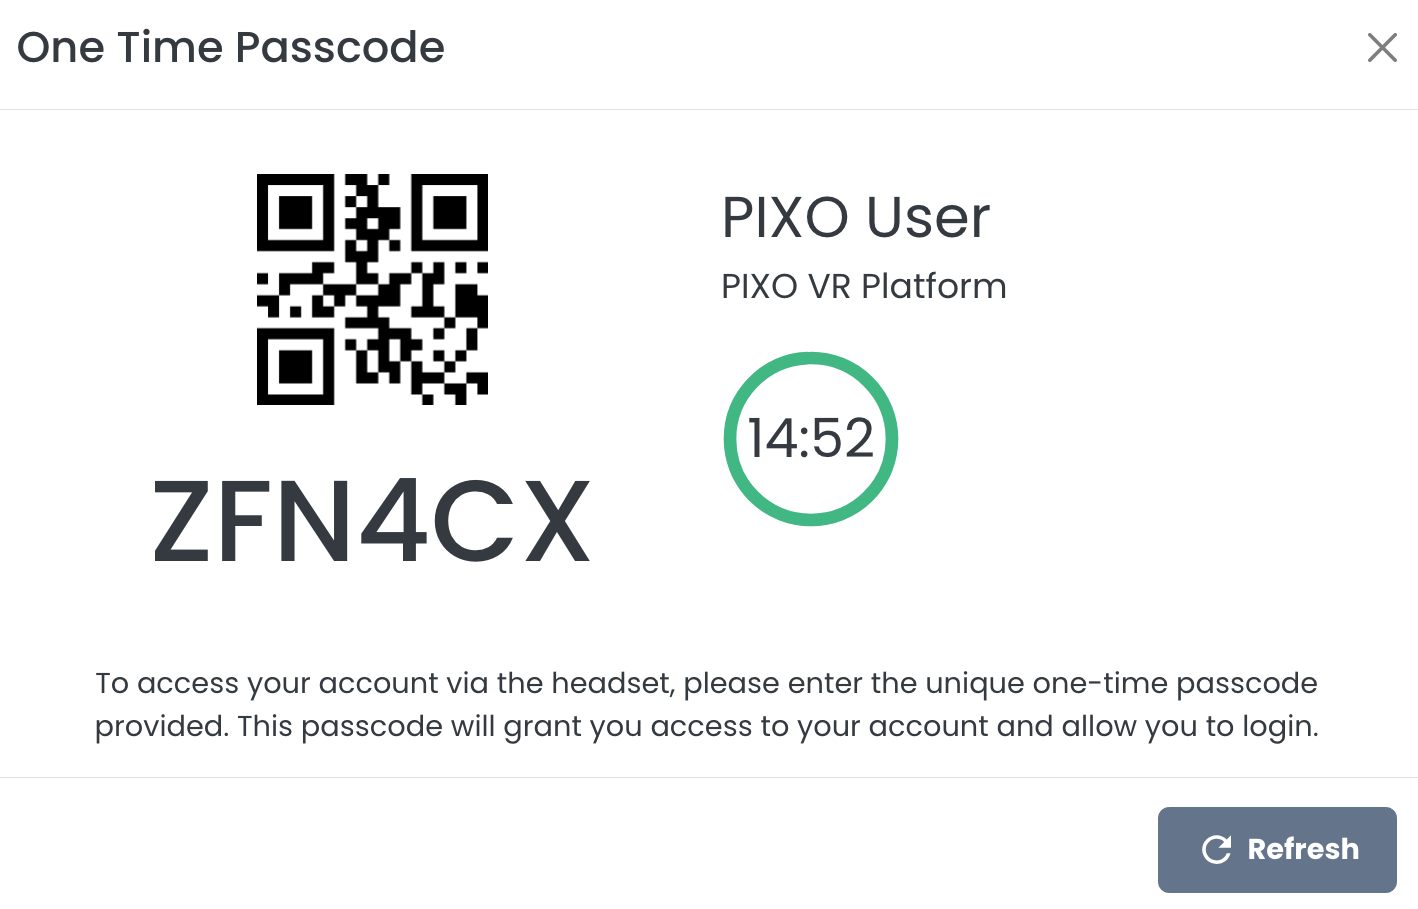
Select "Assisted Login" under the "Hi, Name" greeting menu in the PIXO Platform:

You will have 15 minutes to enter the provided one-time passcode into the username field of the PIXO login screen in headset:
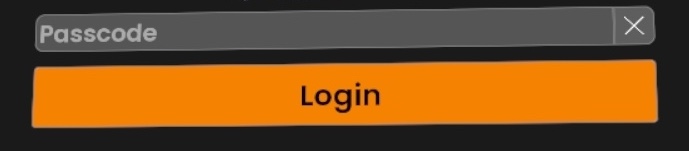
Open the Hub App in headset and select "One Time Passcode (OTP)" at the bottom of the login screen:

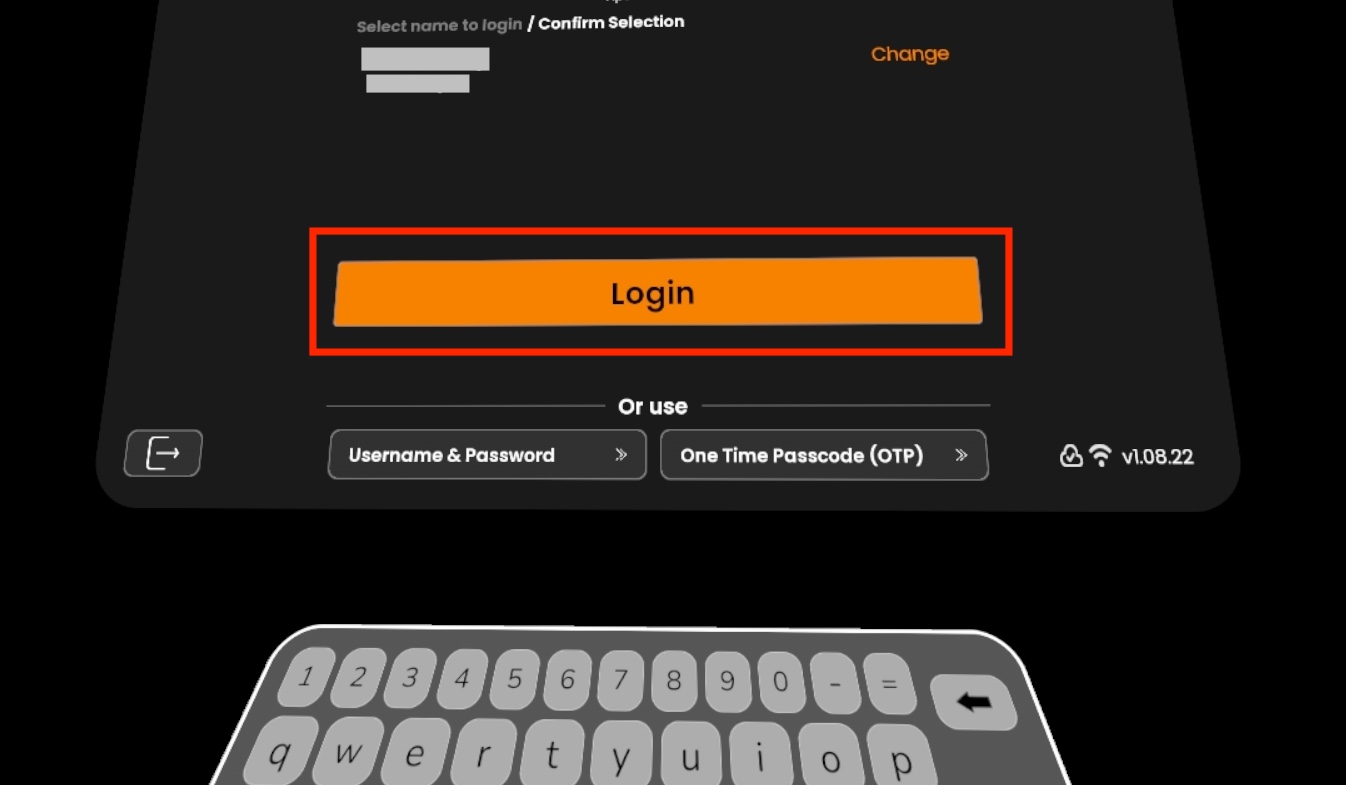
Type the provided passcode and select "Login":
Login with Quick ID
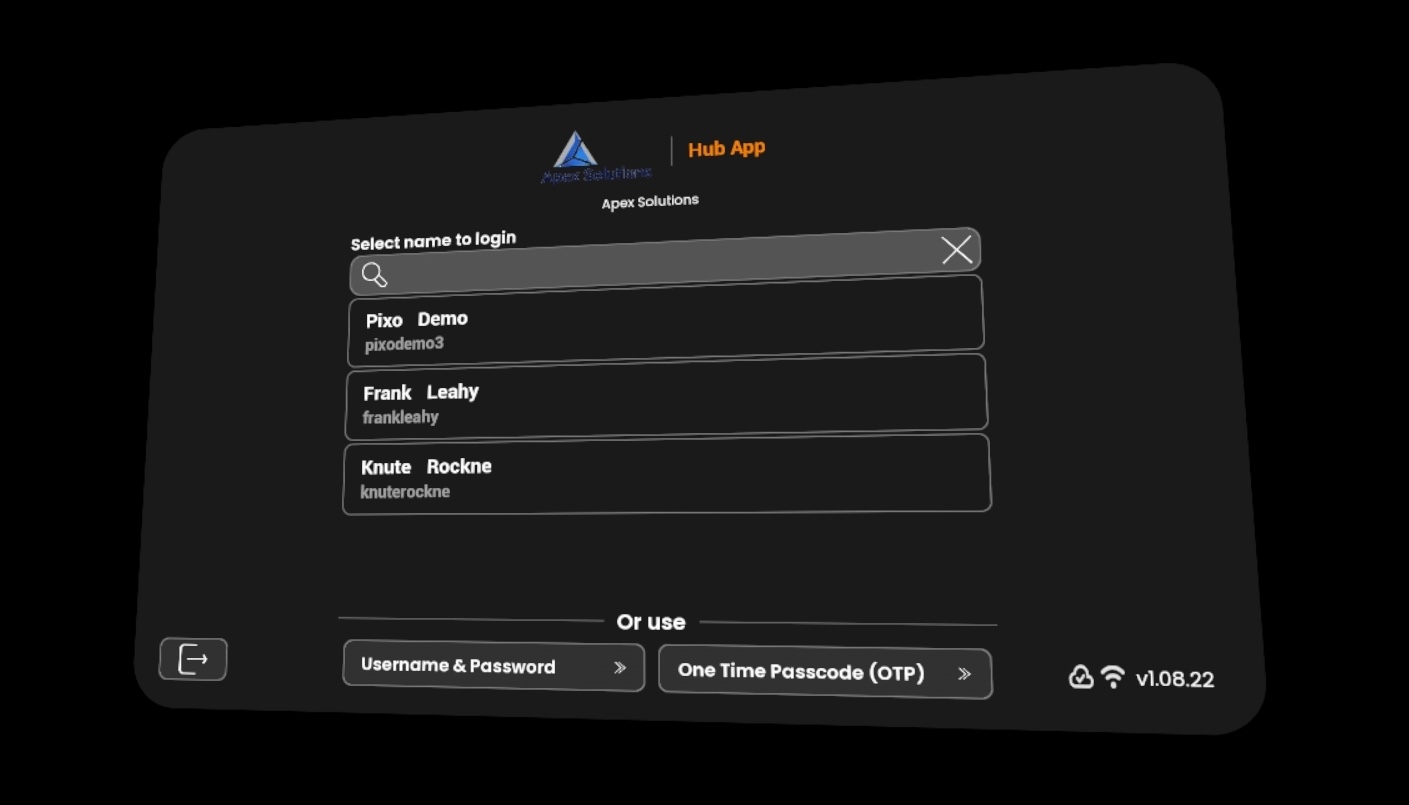
Quick ID allows non-admin users (student, user, manager or developer) to login by selecting their name from a dropdown menu instead of typing their login in headset.
Tip: This option is only available if the headset is registered on the PIXO Platform and Quick ID is enabled for the org the headset is assigned to. To activate this feature, reach out to a PIXO VR Representative.
How to Use Quick ID
-
Turn on your headset and open the PIXO Hub App
-
At the login screen, select the dropdown field:

-
Find and select desired user from the list.
-
Select "Login".
Requirements for using Quick ID
-
Device needs to be Registered on the PIXO Platform
-
Organization must use Device Based Billing
-
Quick ID Authentication needs to be activated for the Organization on the PIXO Platform
Log Out
To log out of your account, select the "Exit" icon in the upper right corner:

Hub App Features
Navigation
Once logged in, you will start in the Modules tab. To move to another tab, use the navigation bar on the left:

The Modules Tab
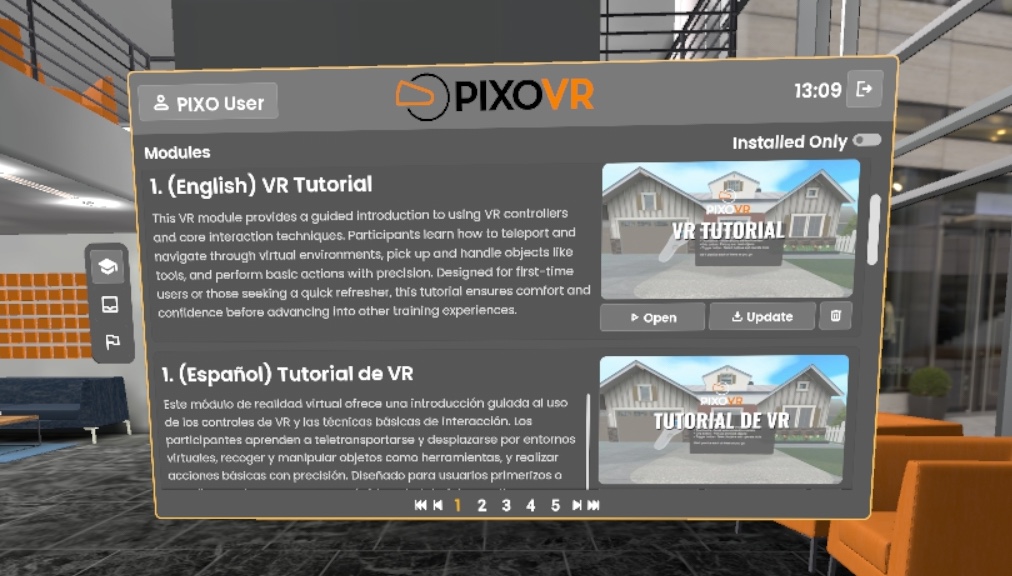
After logging in, the Modules tab will load and display the entire library that you have access to and can launch. Scroll to see each module's description.
Tip: If you only want to see the modules that are currently installed on your headset, use the "Installed Only" toggle in the upper right corner:

Install and Launch Modules
Scroll to find the desired training module, then select the "Install" or "Update" button to install it. A download bar at the bottom of the screen will then display the download progress.

Once the installation is complete, select the "Open" button to launch the training module.
Tip: The PIXO Builder must also be installed on your headset in order to launch modules created using the PIXO Builder tool.
The Usage Tab

The Usage tab displays your recent activity, organization stats and user stats:
-
Recent Activity
-
Last login
-
Total logins
-
Total time in sessions
-
-
Org Stats
-
Number of available learning modules
-
Number of active users
-
-
User Stats
-
Top modules by sessions
-
3 most recent sessions
-
Top modules by time spent
-
The Leaderboard Tab

The Leaderboard tab gamifies training sessions by adding a fun, competitive element through displaying the top performers by module within your organization.
Troubleshooting
Connectivity Checks
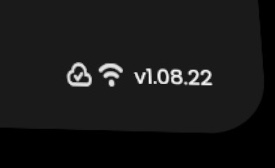
Connectivity Checks are new troubleshooting features (located within the bottom right corner of the login screen) that allow you to instantly check if your device in connected to the internet, as well as if any firewalls are blocking the device from connecting to the internet.
If your device is connected to the internet and reaching PIXO servers, both icons will show as white:
If your device fails a connectivity check, one or both of the icons will turn red. See the table below for troubleshooting steps:
| Icon | Problem | Solution |
|---|---|---|
|
|
Your device is not reaching PIXO Servers. |
Your device is likely blocked by your internet network's firewall. You will need to work with on-site network admins to ensure PIXO services and hardware aren't being blocked or restricted.
See our Whitelisting Information article for our URLs and IP Addresses. |
 |
Your device is not connected to the internet. |
|

Questions and Support
If you have any issues, please contact our tech support team at [email protected]

